When creating an email campaign in Sarbacane Campaigns, it is essential to correctly manage the header settings to ensure the effectiveness of your communication. This section will guide you through the key steps to customize your campaign header.
Note that regardless of the creation mode you have chosen, the header options remain the same. The upper part of your screen is used to enter the information described below.


The display name of the sender is the name that will appear in the sender field instead of your email address. It may be different for sending and for replies. This field is mandatory. You may enter the name of your company, a product, or a colleague.
The sender address is the address you will use to send your message. This address will appear in the recipient’s inbox. By default, these fields are pre-filled with the name of your company and the email address of the Sarbacane Suite account administrator. Make sure that the address entered is valid to avoid issues.
By default, these fields are pre-filled with the name of your company as well as the email address of the Sarbacane account administrator

The display name and reply-to address are by default the same as for the sender. However, you have the option to enter an email address different from the sending address. Avoid using addresses such as [email protected], which can affect deliverability. Prefer addresses such as [email protected] or [email protected] for better engagement.
The email subject line is crucial, as it will be displayed in the recipients’ inbox. A powerful subject line is essential to encourage recipients to open your email.

An indicator will help you determine the ideal length of your subject line, preventing it from being too long. Green means that your subject line has an ideal length, red that it is too long.

The preheader is the sentence that appears in the inbox preview next to or below the email subject line. It generally complements the email subject line and plays an essential role in optimising the open rate.

As with the subject line, an indicator will help you determine the ideal length of the preheader.
You can add an attachment to your message. To do so, go to the “Advanced settings” section at the top right of your editor. Then click on “Attachment”
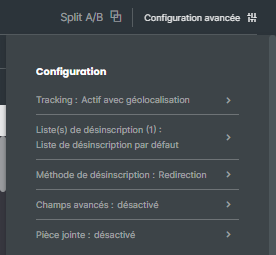
A window will then open so that you can add your attachment.
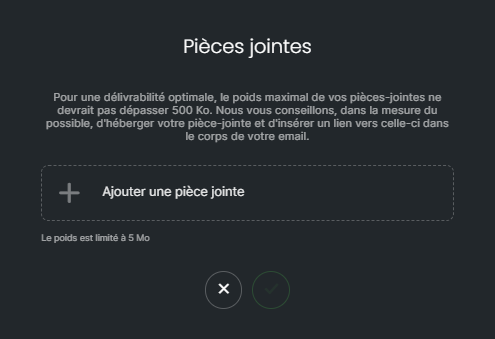
However, please keep in mind that this may increase the size of your email, thereby raising the sending cost and potentially triggering anti-spam filters. Use this feature only when necessary and check the size of the attachments.
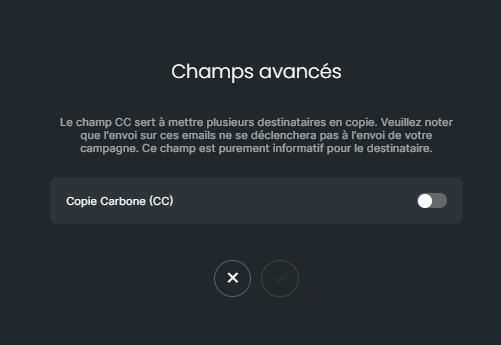
The carbon copy (CC) function allows you to add a recipient in copy of your emailing in order to receive any replies from your recipients. Please note, however, that the person in CC will not receive your itila email campaign but only the replies to this campaign.
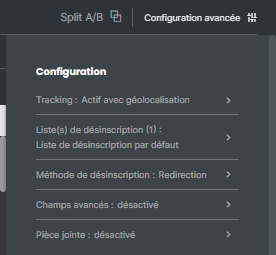
To add a “CC” field in the header of your message, click on the Advanced configuration section at the top right of the editor, then on “Advanced fields”.
A window will then open so that you can activate the “carbon copy” field in the header of your campaign.
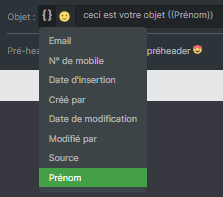
You can customize the subject and the sending and/or reply fields by using data from your database, such as title, last name, first name, or a last purchase. Simply click on the personalization symbol {} and then select the database field that contains the information you wish to display..
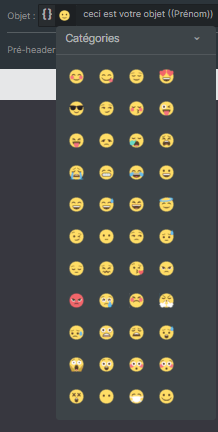
Add a touch of creativity to your header by inserting symbols in the subject line or the displayed sender name. An emoji gallery is at your disposal to make your emails more attractive.
By following these guidelines, you will be able to efficiently customize the header of your email campaign in Sarbacane Campaigns, which will help enhance the impact of your messages and the satisfaction of your recipients.
