To ensure that your personalized emails are properly configured and correctly display each recipient's data, it is essential to test them before sending them to your list. Here is how to proceed.
The test email address must be included in the contact list associated with your email campaign: Before you can test personalization, ensure that the email address to be used for testing (yours or those of your colleagues) is included in the contact list you have associated with your campaign. This step ensures that you will be able to view the various forms of personalization in your test emails.
The fields used for personalization must be completed: Personalization fields, such as first name, must be properly filled in the contact list for the email address to which you wish to send a test. If these fields are not filled in for your own email address, personalization will not be visible in test emails and will leave a blank space.
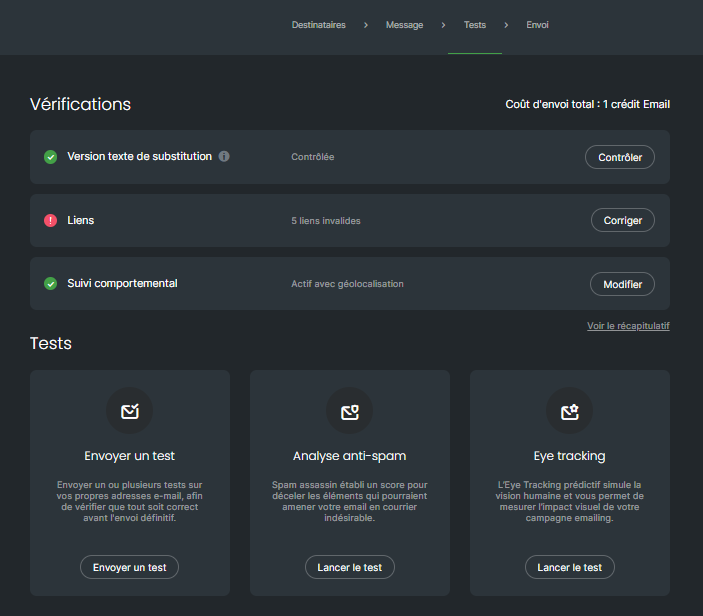
Access the Testing step of your campaign: This is where you can test your campaign before sending it to your entire list.
To send a test to an email address:
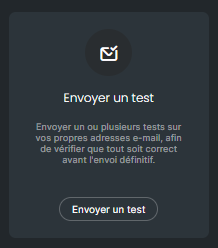
Click on the "Send a test" box
A window will open. Click on "Edit" to add the email address of your choice or to select addresses you have already used previously for sending tests.
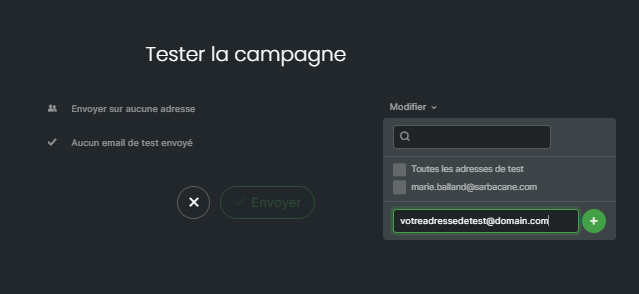
Once the test email addresses have been selected, click the "Send" button
Verify personalization: when you receive the test email, verify that the personalization fields are working as expected. Ensure that your first name or other personalized information is displayed correctly.
Perform additional tests if necessary: if you identify any personalization or display issues, return to the campaign creation tab to make the necessary adjustments. Repeat the testing process until everything meets your expectations.
Confirm and send the campaign: once you are satisfied with the tests and personalization is working correctly, you can proceed to the final sending of your campaign to your recipient list.
Testing your personalized emails is a crucial step to ensure an optimal reception experience for your recipients. By following these simple steps, you can ensure that each recipient will receive a personalized email that displays correctly.
