With Sarbacane Suite, you have the possibility to create several types of automated campaigns. These allow you to automate the sending of emails based on the behaviour of your recipients.
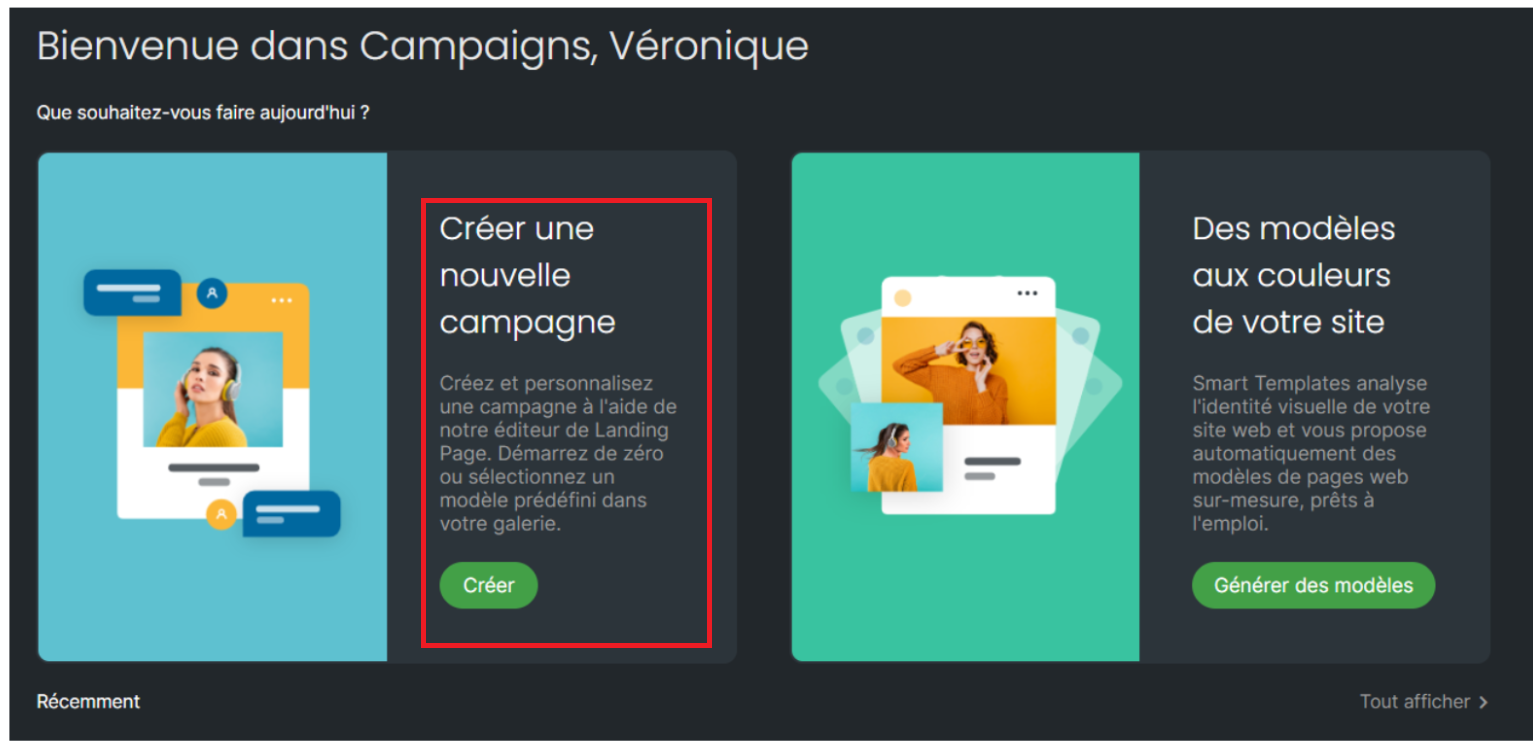
To do this, go to the “Campaigns” application, then to the “Create a new campaign” block.
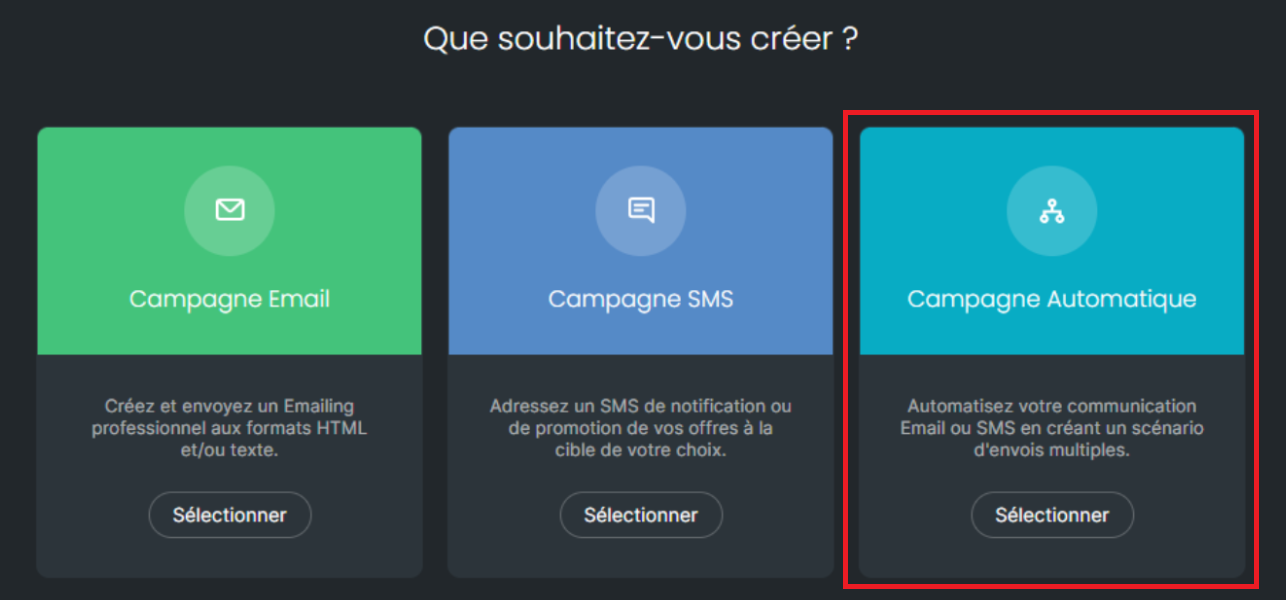
Choose “Automated campaign”:
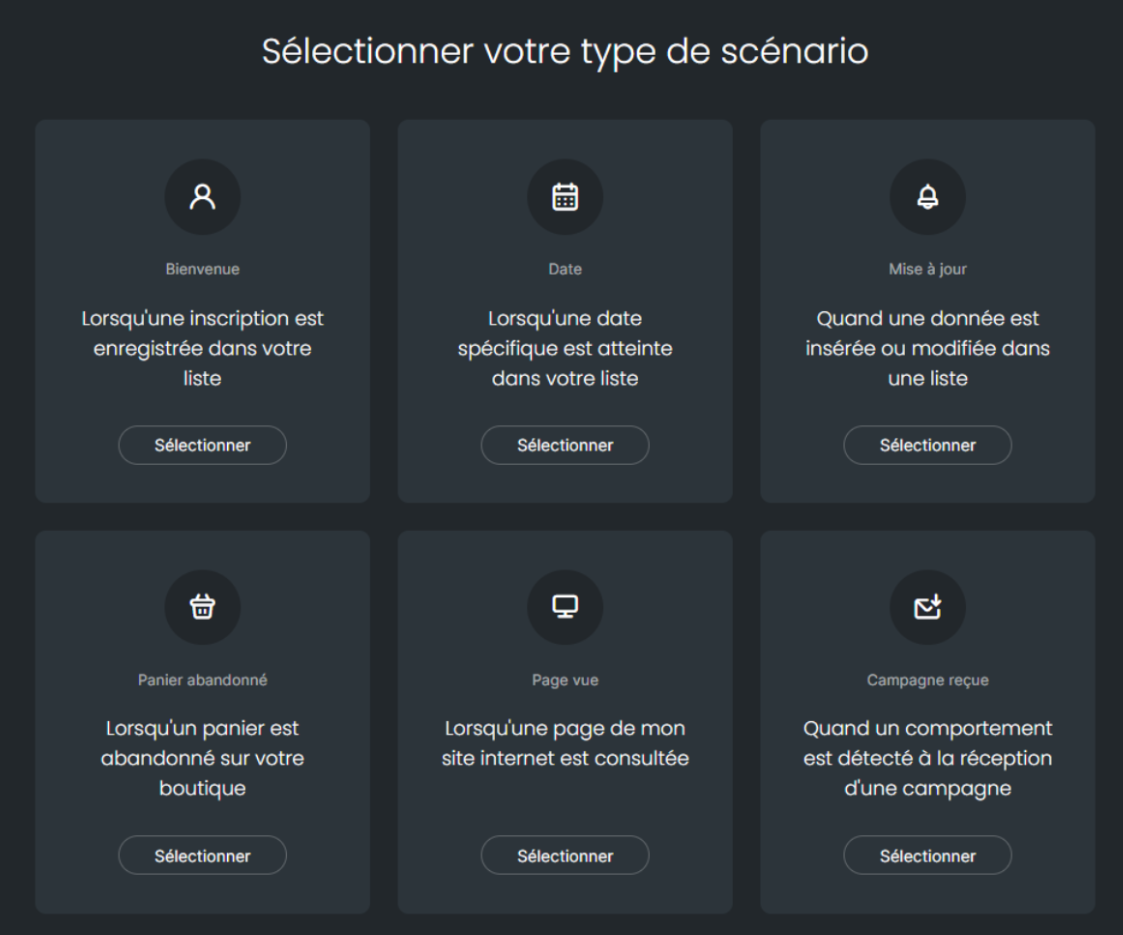
Several scenarios are then available to you:
Welcome
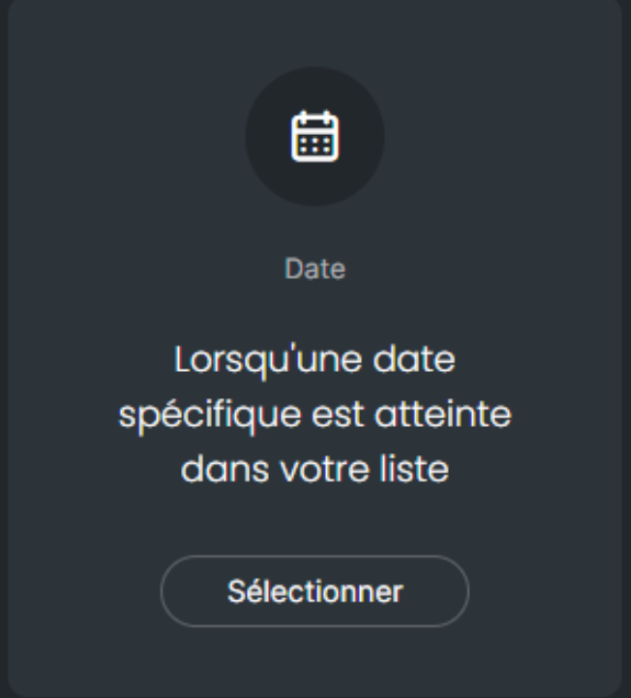
Date
Update
Abandoned cart
Page viewed
Campaign received.
We will now detail below the different automated scenarios offered by Sarbacane Suite.
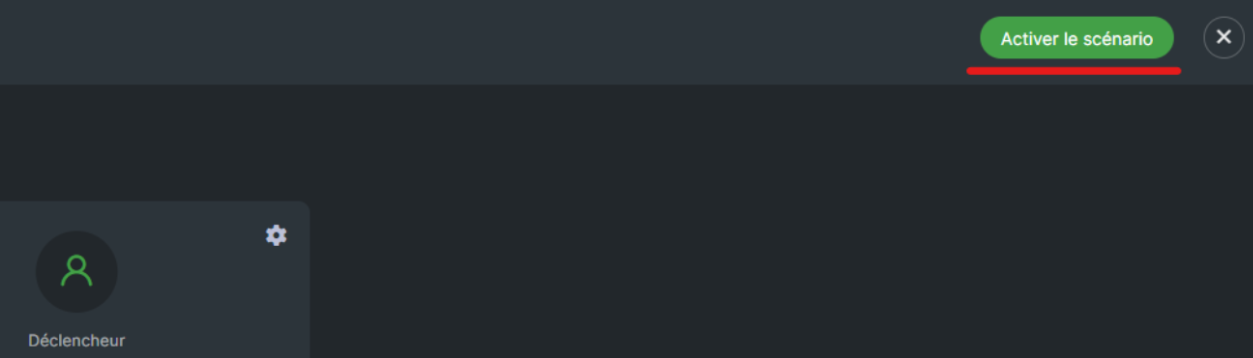
Good to know: any configured scenario must be activated for the emails to be sent as planned.
The Welcome scenario is automatically activated as soon as a new address is added to your contact list, regardless of the method used to enrich your list: manual addition, file import, connector, API, or Sarbacane form (via Forms).
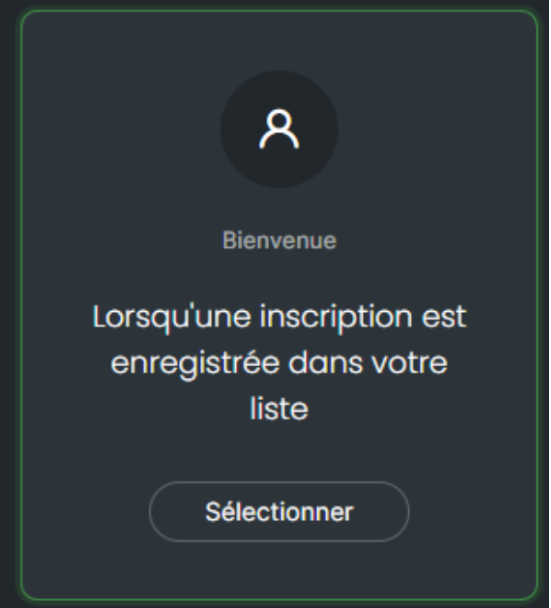
This option is ideal in several situations:
Subscription to your newsletter
Creation of an account on your website
First purchase on your website or in-store
Membership in a loyalty program
Registration for an event (webinar, trade show, workshop, etc.)
Download of a white paper.
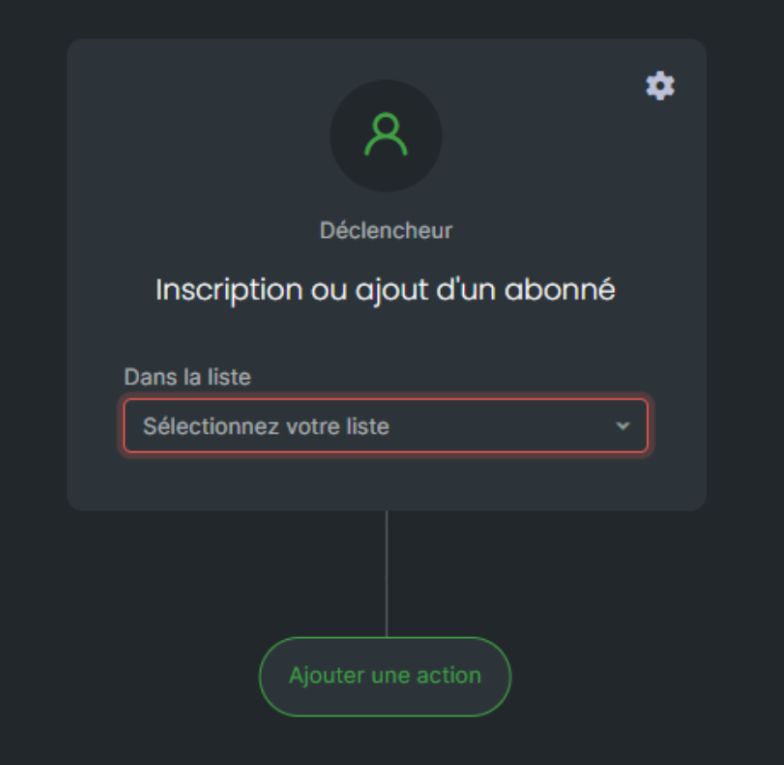
The first step is to select your contact list that will serve as the trigger:
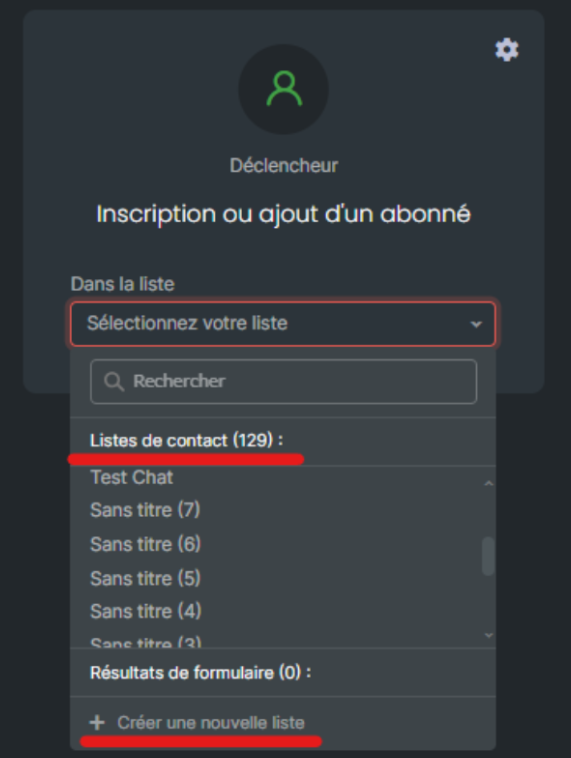
You can also create a new list from this drop-down menu.
Good to know: it is essential that the contact list in question be empty before this scenario is executed; otherwise, the sendings will not be triggered.
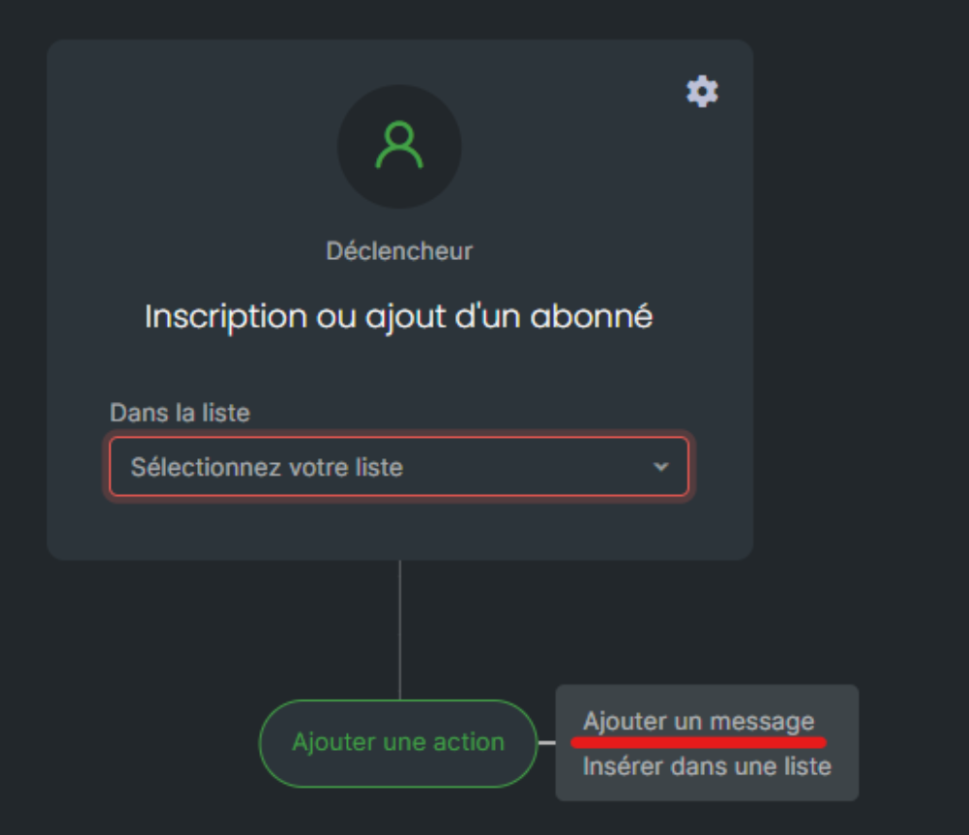
By clicking on “Add an action”, you can “Add a message” or “Insert into a list” the addresses that have been added.
The “Add a message” option redirects you to the campaign creation page, while the “Insert into a list” option can be used if you wish to add the addresses to another specific contact list.
Thanks to this scenario, you will be able to welcome new subscribers, or send a message to people who respond to a form (to register for an event, in particular).
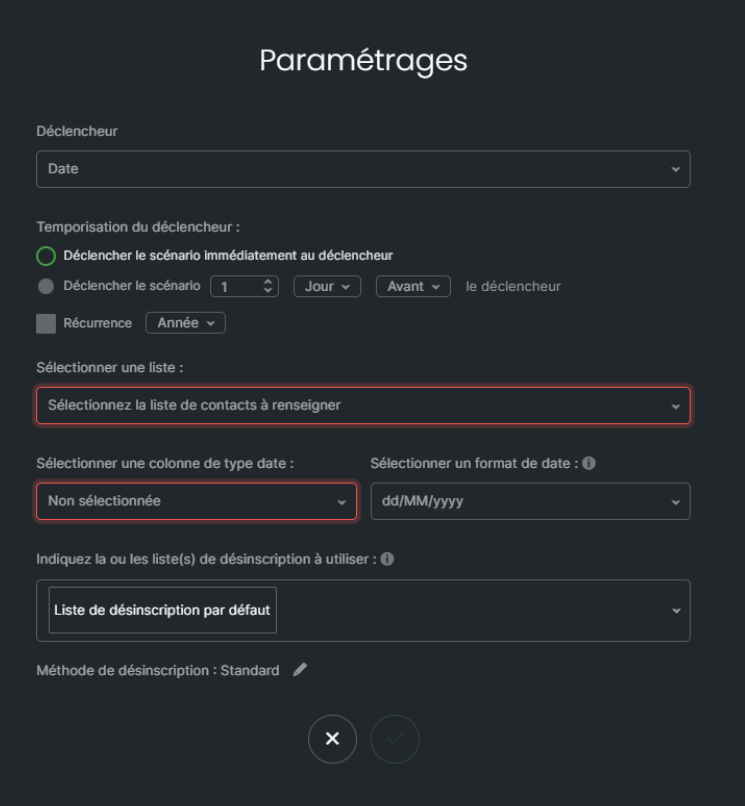
This scenario is used to send emails based on specific dates or important time-based events, provided that a date-type column is present in your contact list.
It is appropriate to contact your recipients:
On an anniversary date
On a specific due date.
The first thing to check after selecting your contact list is the alignment with a date format:
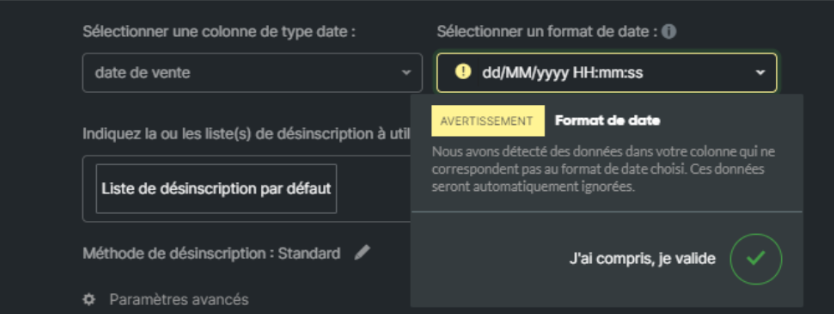
If the formats are not identical, a warning message will appear and you will not be able to activate your scenario.
The advantage of this trigger: it makes it possible to create targeted, timely communications based on important dates. This helps to personalize the customer experience, maintain engagement, and boost sales.
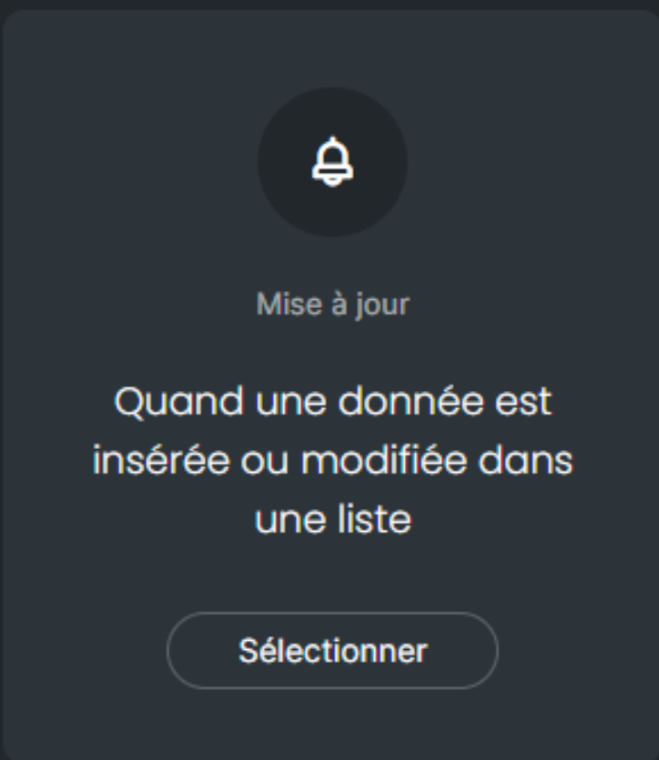
The Update scenario is very similar to the Welcome scenario, except that the latter is triggered when a change is made to a contact present in your contact list.
Go to the trigger settings:
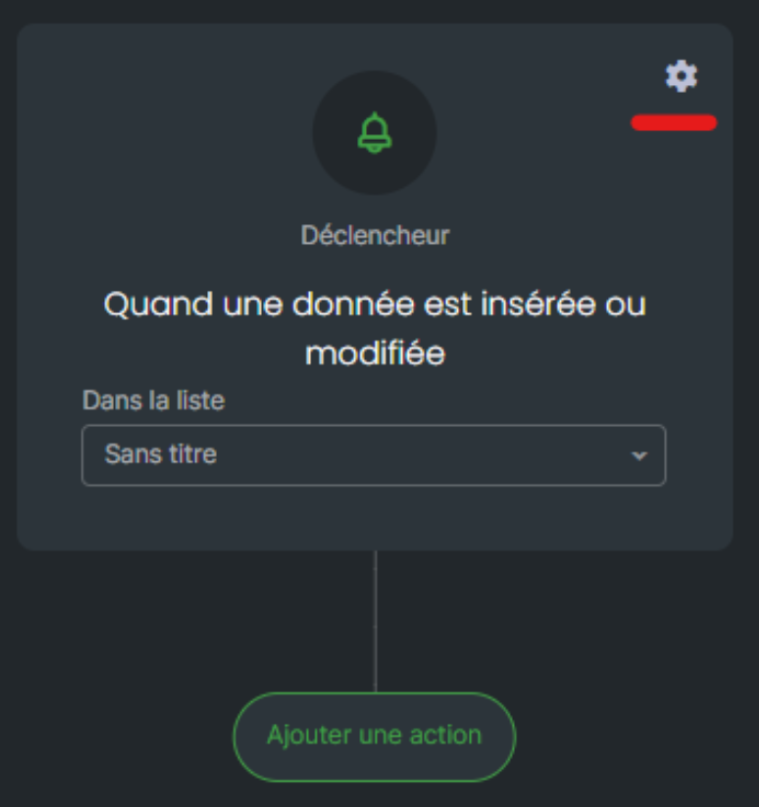
You can define the triggering criteria for sending your messages. First, you must select the column to be checked. You can then select two types of values: the initial value, which will be present by default in your contact list, and the expected value.
This means that when this value is reached, an email is potentially sent:
Whatever the value, this includes any value present in your cell
If the value is not filled in, when your cell is empty
If the value is filled in, whatever the value
If the cell is filled in with a specific value, you must write precisely the value that is already in your list or the expected value.
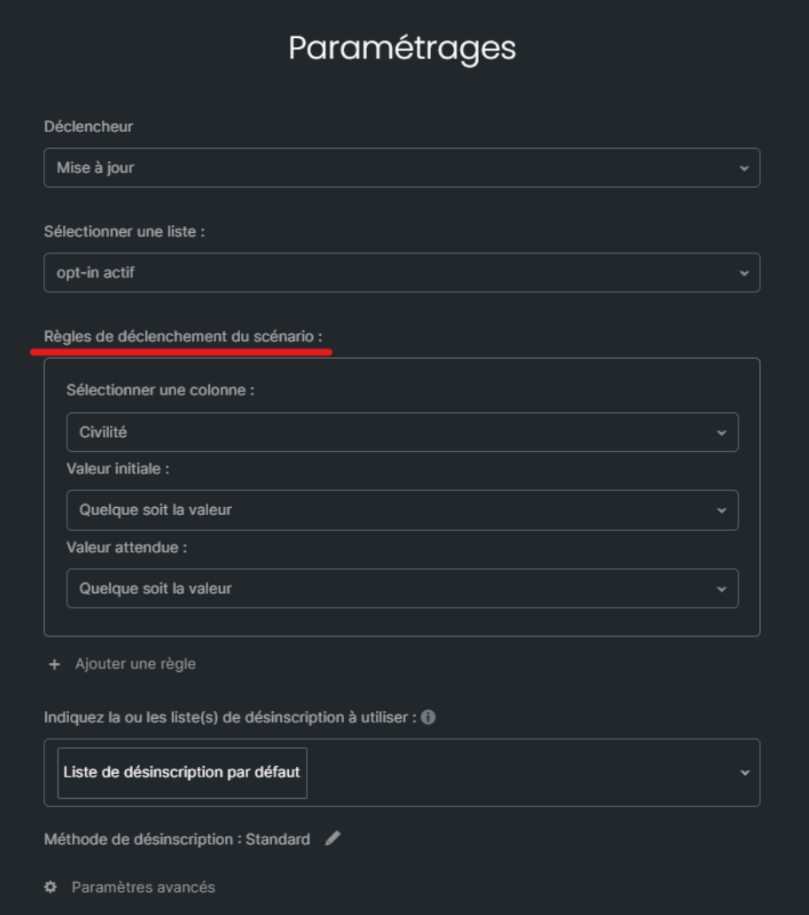
As an example of application, imagine that your contact list has a column with the number of orders placed by your recipients. Everyone is at 0 orders at the start of the implementation of your scenario. The idea would then be to send a specific email if one of your recipients goes from 0 to 1 order. Replacing 0 with 1 will then trigger the sending of an email.
The advantage of this trigger: it makes it possible to offer a personalized customer experience and to optimize marketing efforts.
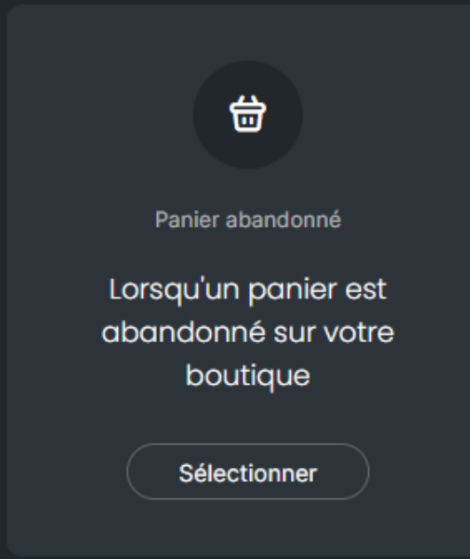
An Abandoned Cart scenario consists of sending automated messages to users who have added products to their online carts but have not completed the purchase process.
This is a scenario that you can set up only if you have previously connected one of your stores in the “Contacts” section of your account, then “Connectors”.
Please note that this scenario is only compatible with Prestashop and Magento stores.
Once your store is synchronized with Sarbacane, you will be able to add a message:
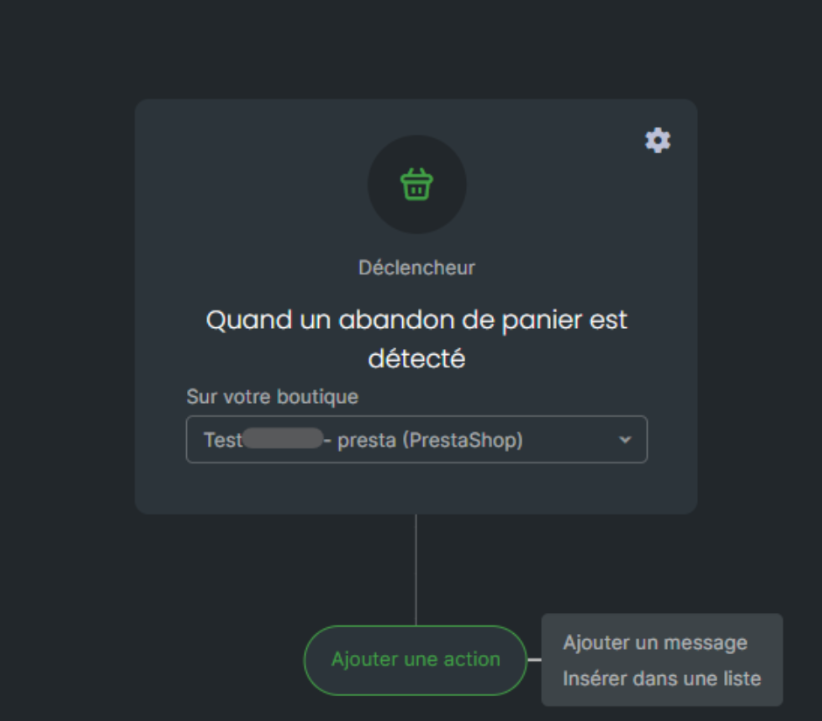
The advantage of this trigger: an Abandoned Cart scenario is a tool for e-commerce sites to recover “lost” or incomplete sales and to maintain customer engagement through automated and personalized messages.
This scenario is a marketing automation tool used by websites to track and respond to visitor behavior based on the pages they have viewed. For example, if a visitor views the page of one of your items, it is possible to send this information to Sarbacane so that an additional introductory email is sent.
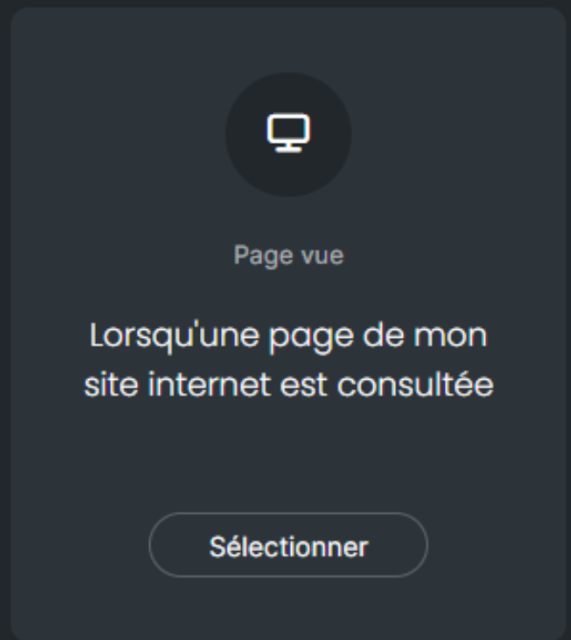
Please note that in order to set up this scenario, it is essential to first create your script. To do this, go to the “Contacts” section of your account, then “Connectors” and finally “Website Connector”.
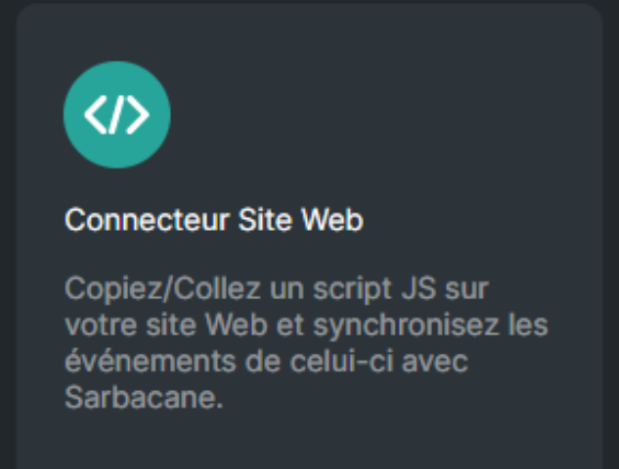
Select it, then you will be able to save your website:
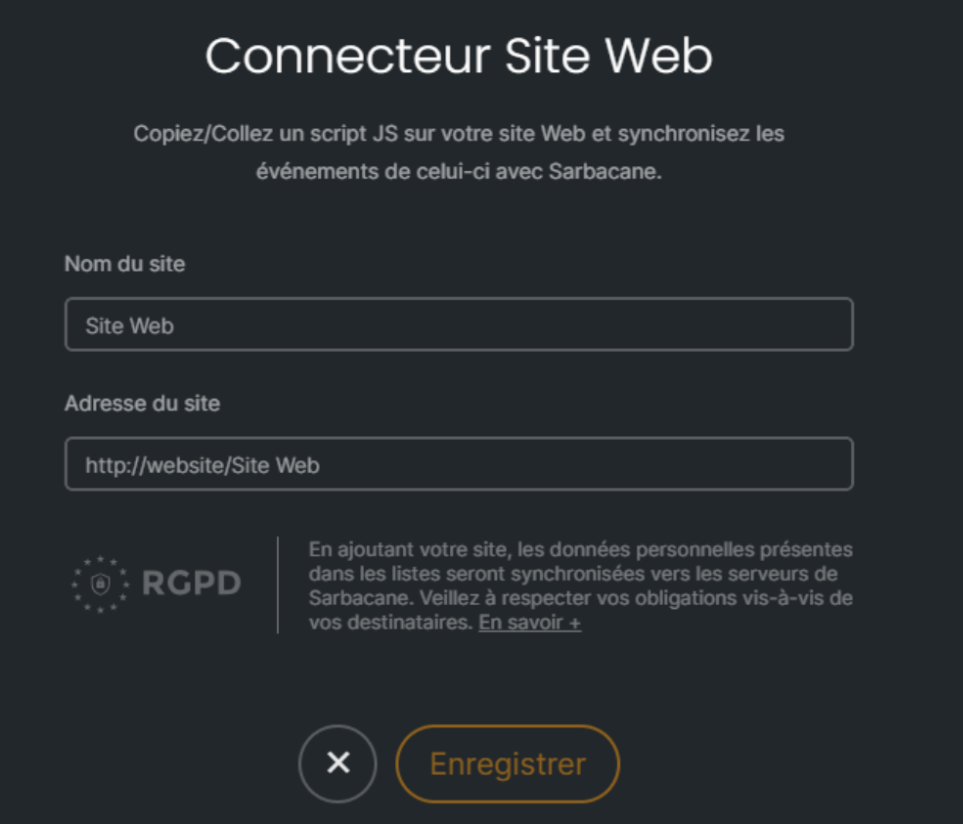
You will then need to write your own JS script according to the behaviour you wish to target. Please note that the displayed script is a default, empty script, which will not be able to function.
Once this script has been written, you will be able to create a page view scenario according to your criteria:
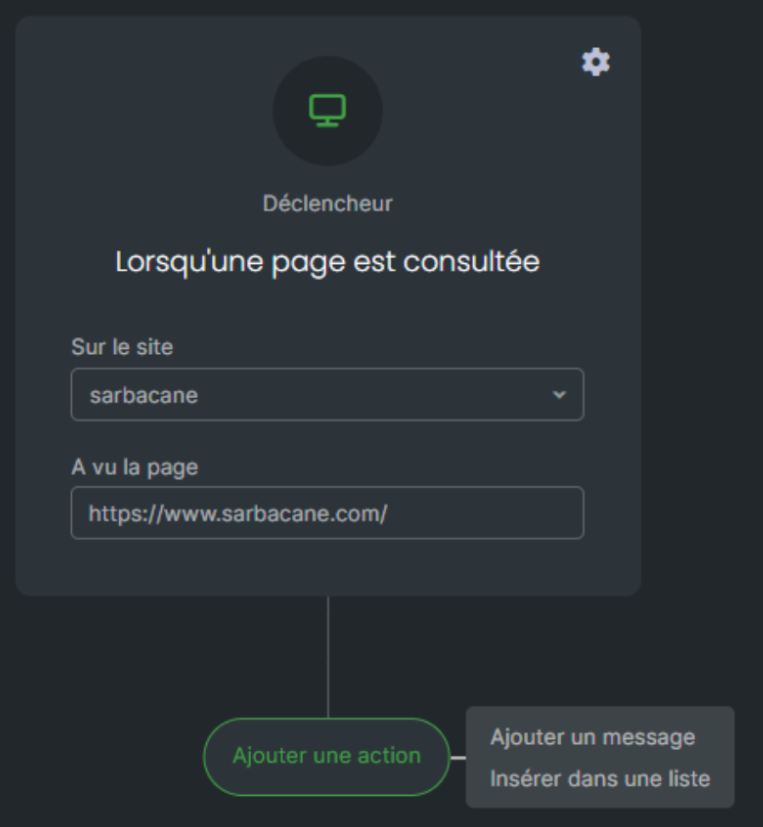
The advantage of this trigger: a Page View scenario is a powerful tool for engaging visitors based on their browsing behaviour, by triggering automated actions aimed at personalising the user experience and maximising conversions.
After sending your communications, Sarbacane Suite collects and displays key information, such as the recipients who have opened or not opened your message, as well as those who have clicked or not clicked on your links.
Thanks to the Campaign received scenario, you have the possibility to automatically target these recipients.
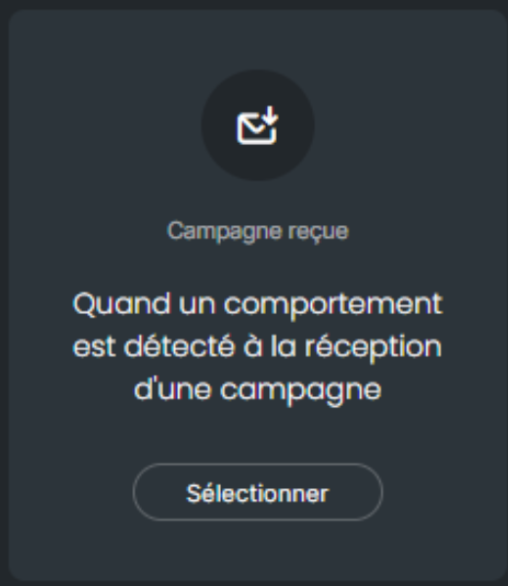
Once the scenario has been selected, you will be able to choose the campaign on which the trigger must be based:
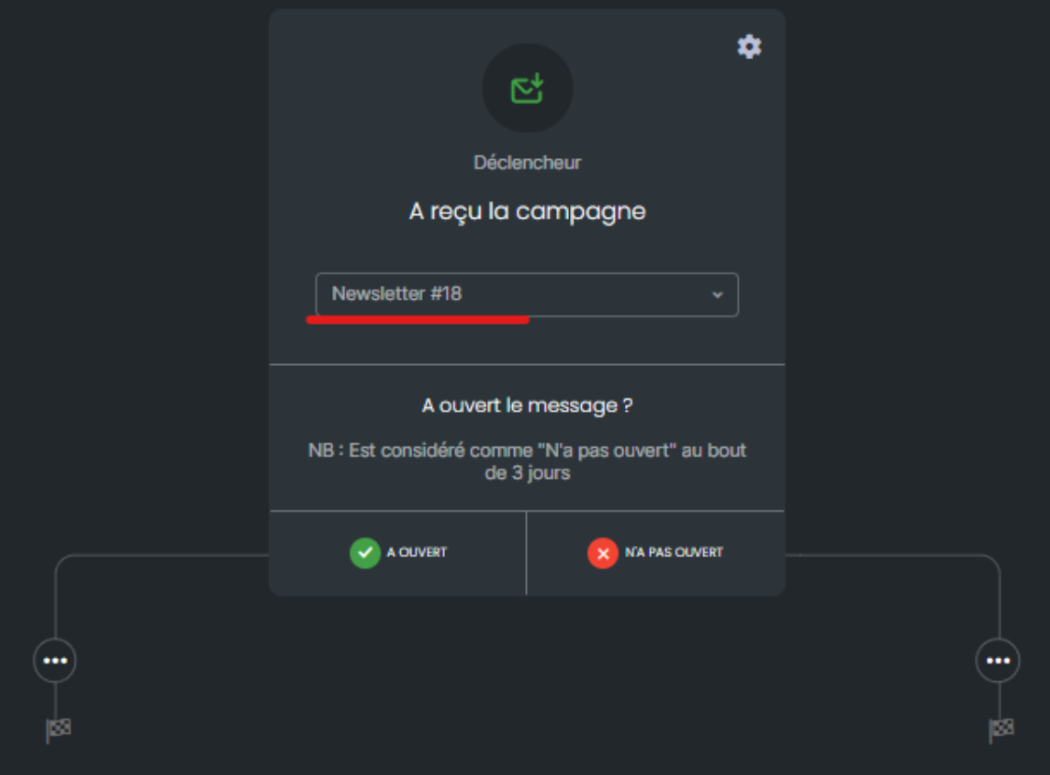
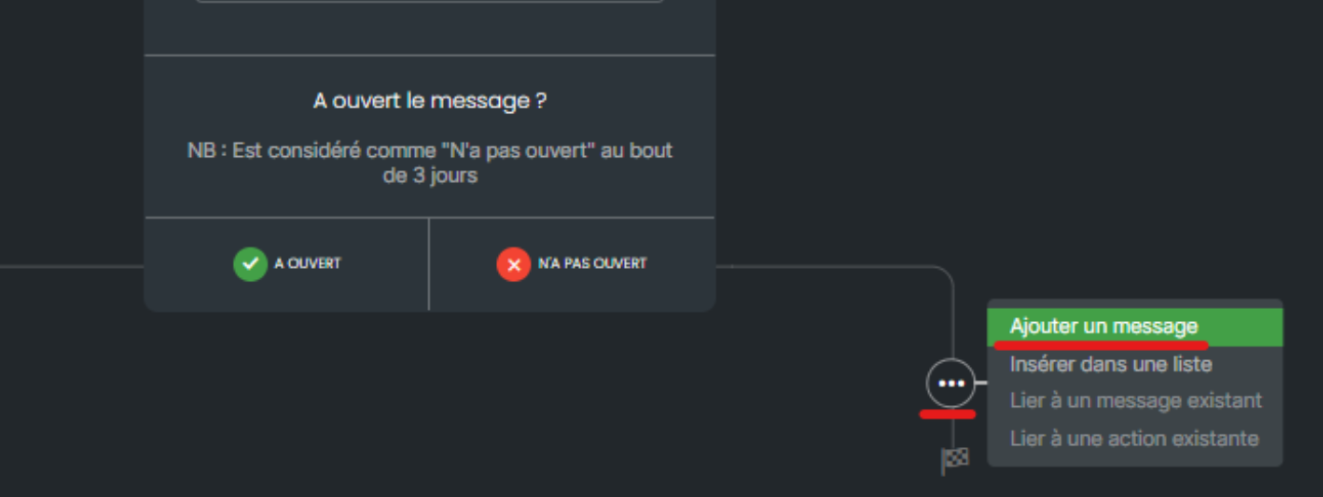
Depending on the expected behaviour regarding your first communication, you can, for example, add a follow-up message for people who have not opened your campaign 3 days after it was sent.
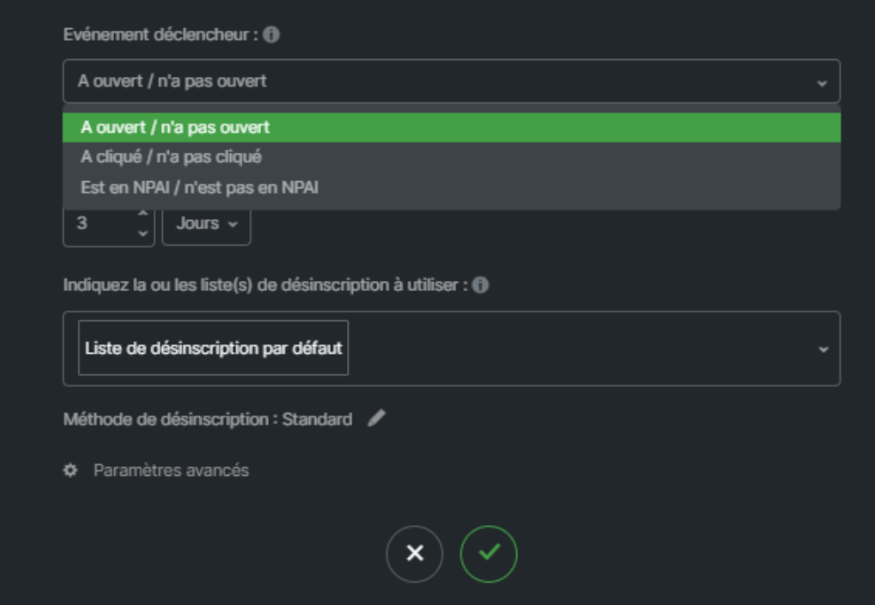
A cogwheel at the level of your trigger allows you to choose the triggering element of your message: whether the recipient has opened your message or not, clicked on your link or not, etc.
The advantage of this trigger: it makes it possible to maximize the impact of your marketing campaigns by responding automatically and in a targeted manner to recipients’ actions, thereby fostering increased engagement and improved conversion rates.
