Define the messages and questions that you want the bot to display to your contact.
Configure the hidden steps that your bot must follow and chain or split these messages and steps into different branches depending on your contacts’ choices, their attributes, and many other conditions…
You can also create steps to call upon the various features of Sarbacane Chat (for example, pre-qualification questions, the knowledge base...).
You can also configure your messages in different languages!
Create a new conversation scenario
To begin, select the Create a scenario option.
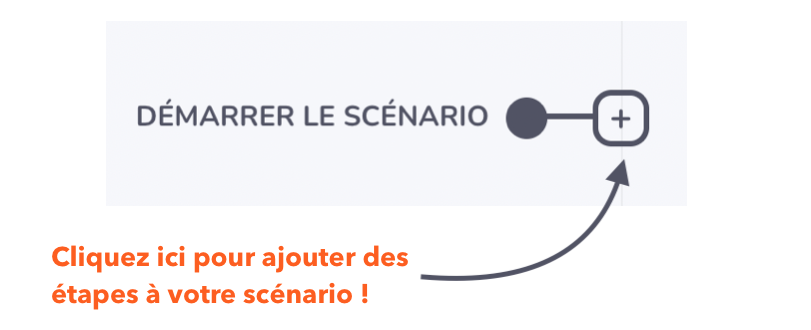
The Start the scenario step implies that a contact has initiated a conversation with you.
Next, select a new step by clicking on the + sign.
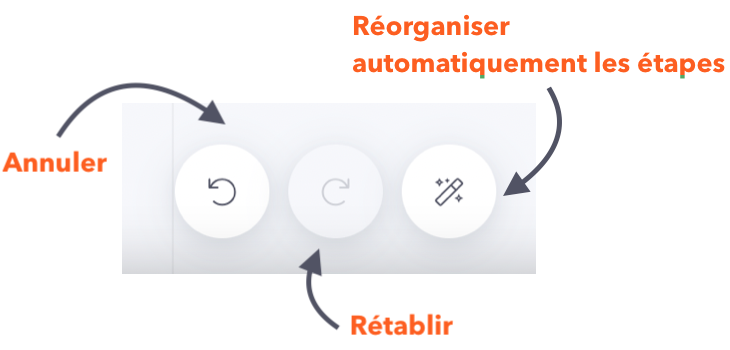
Tools: Throughout this process, you will be accompanied by three small buttons at the bottom of the page. This gives you access to three magical commands to make your task much easier!
H2 Actions and scenario elements
Before creating the structure of the conversation scenario, you must familiarize yourself with the different elements and various actions that you can connect to one another.
Here are the different steps that you can integrate into your conversation scenario: they are divided into two categories, visible steps and hidden steps.
H2 Visible steps
These are messages and elements that will be visible to your contact during the conversation. Here are the elements that you can display to your customers during the conversation:
Send a message:
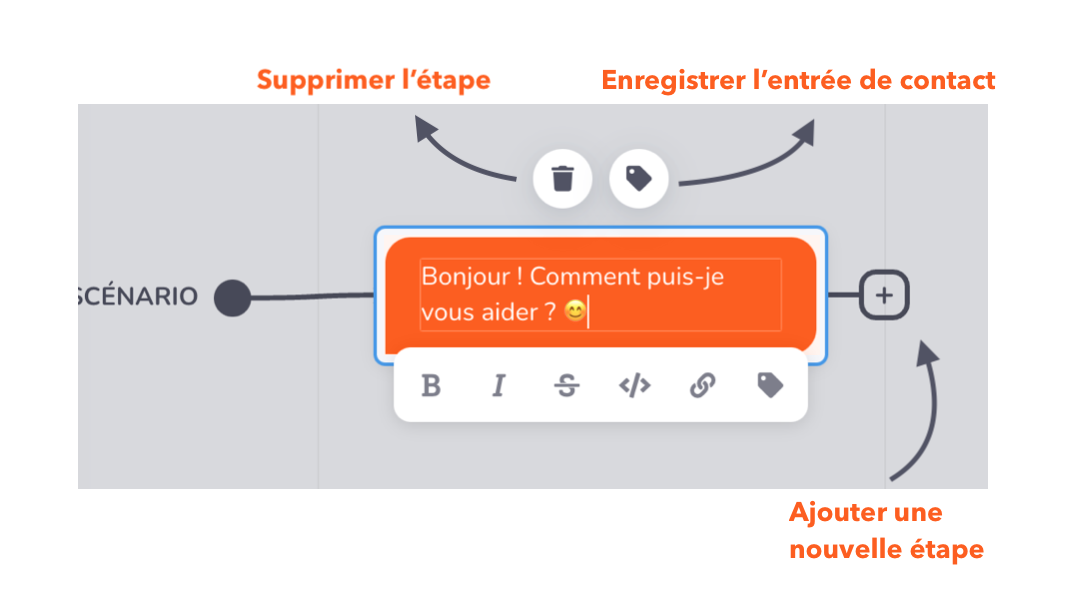
Sends a simple message to the contact. The text editor also offers formatting options, including bold, italics, and strikethrough. You can add links to your texts and add variable data such as first name, email address, or any other contact information in order to provide the best possible customer experience.
Compatibility: Chat bubble, FB Messenger, Twitter, SMS
The Save contact input option allows you to give a name to this step and to save the contact’s response in your database so that you can then reuse the same response later in the conversation scenario. This option only works when the step includes buttons or inputs.
Send a message followed by buttons:
Offer your contacts one or several choices through actionable buttons. You can then vary your conversation scenario according to each button.
Compatibility: Chatbox, FB Messenger
Send a message followed by a form field:
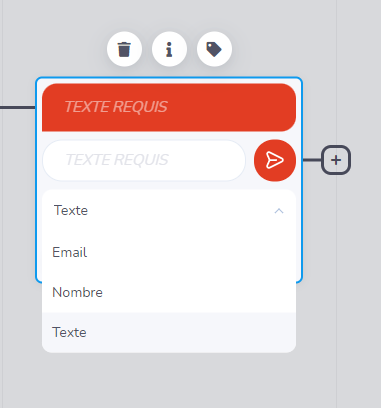
Sends an input field in which the contact can provide information. There are three field formats available: text, number, or email. You can modify the title of the input according to the information required (for example, age, gender, customer number, etc.).
Compatibility: Chatbox, FB Messenger
Send an image:
You can display an image to your contacts if the conversation requires it. This is useful if you wish to share screenshots or graphical content with your contacts.
Supported formats: .jpg, .png or .gif
Send a form by email:
Allows you to display a form that will enable the contact to send an email to your brand’s email address.
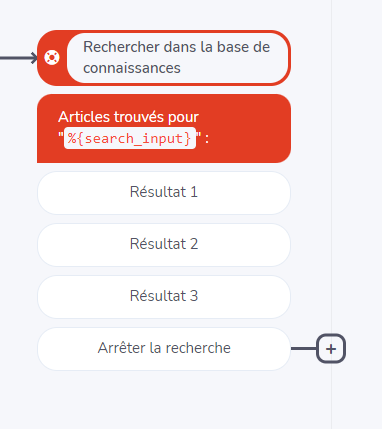
Search the knowledge base:
Allows the contact to browse the articles in your knowledge base. You can also define the number of results you wish to display to your contacts (at least two).
Compatibility: Chatbox, FB Messenger
Single qualification question:
Sends a specific qualification question.
Compatibility: Chatbox, FB Messenger
Send all qualification questions:
Ask all your qualification questions one after another.
Customize the order in which your questions appear by adjusting the display order field of each of your questions.
Compatibility: Chatbox, FB Messenger
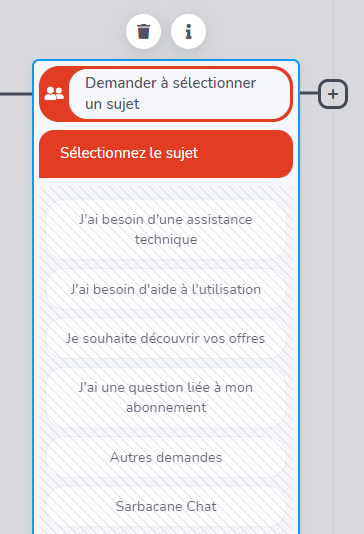
Ask to select a topic:
Sends a message with several buttons allowing the contact to choose one of the configured topics. You can assign members of your team to a conversation topic from the Assignment rules feature.
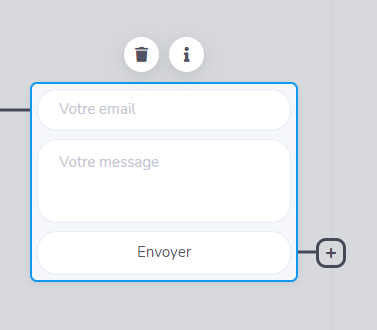
Contact form:
Displays a form that allows the contact to send an email to your brand’s email address.
Compatibility: Chatbox, FB Messenger
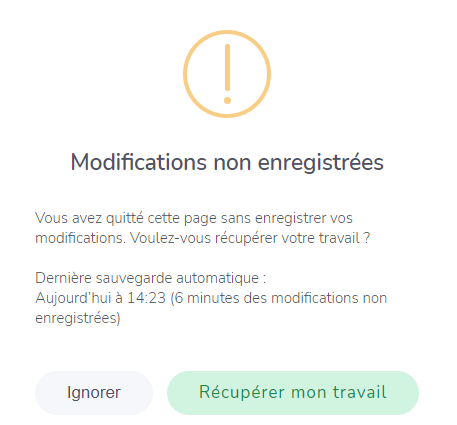
Note: if your window ever closes unexpectedly, do not worry. The built-in autosave function allows you to return to where you left off.
H2 Hidden steps
These are the instructions you give your bot so that it knows what to do on your behalf. These steps are not visible to your contacts and will only be visible to you (and your bot while it operates behind the scenes).
Invite a team member:
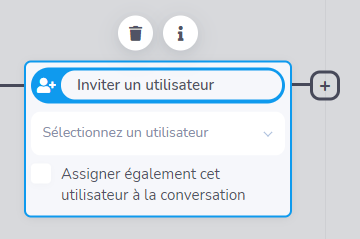
Invite a specific team member to join the conversation.
Invite the team:
This step invites all team members assigned to the selected topic.
[Tip: combine it with the Select a topic step to assign members of your team to a conversation topic.]
Send an internal message:
Send an internal message visible only to your team (displayed in yellow).
Select the topic:
Defines a specific conversation topic, affecting the team members who will be invited when you add the "Invite the team" step.
[Tip: you must first assign your team members to your conversation topics from the Assignment Rules.]
Split a scenario using a condition:
Split the scenario into two different scenarios using a condition.
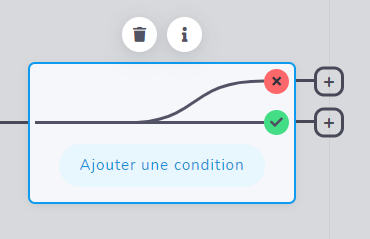
Click on Add a condition, to open the following window:
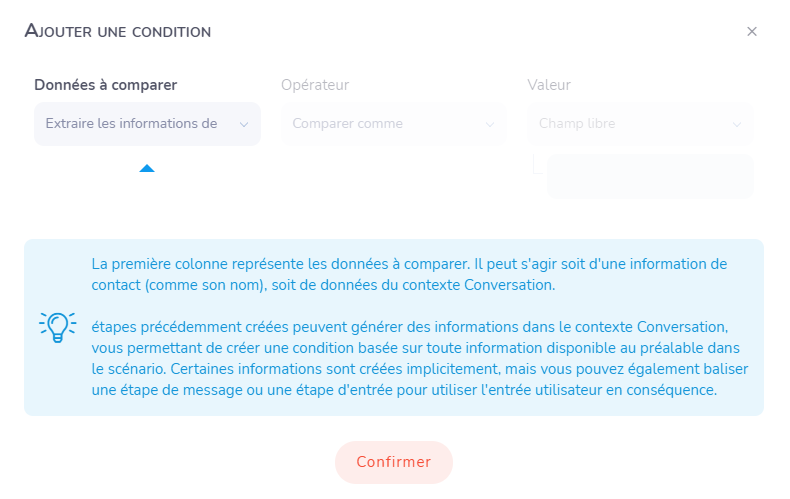
Reconcile and save the collected contact data:
This step will save the contact attributes in the Sarbacane Chat contact database based on the data collected during the previous steps.
Pause the scenario to receive a message:
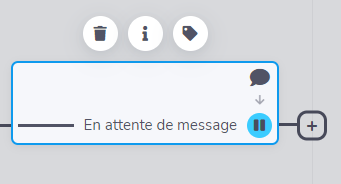
The scenario will stop at this step to allow the contact to send a message. The scenario will resume immediately after the contact’s message is received.
Add a straight line:
More of a graphical aid than a bot step, but it helps improve the readability of your flow.
H2 Scenario stop steps
Stop the scenario:
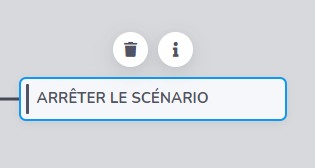
Indicates that the scenario stops.
Stop the scenario and close the conversation:
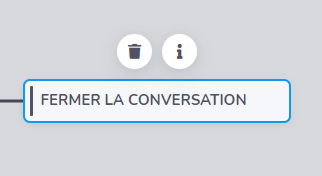
Ends the scenario and closes the conversation.
Start another scenario:
Stops the existing scenario and starts another one. This can be useful when you want to connect two conversation scenarios to make room for different scenarios!
