The conversational scenario editor is the place where you can customize the conversational experience that your contacts will have with your bot.
It is essentially represented by a sequence of steps (send a “Hello!” message, then ask for the contact’s name, etc.), sometimes divided into several branches so that your bot can send the appropriate messages depending on the context.
If you start with an empty scenario, you will get something like this:
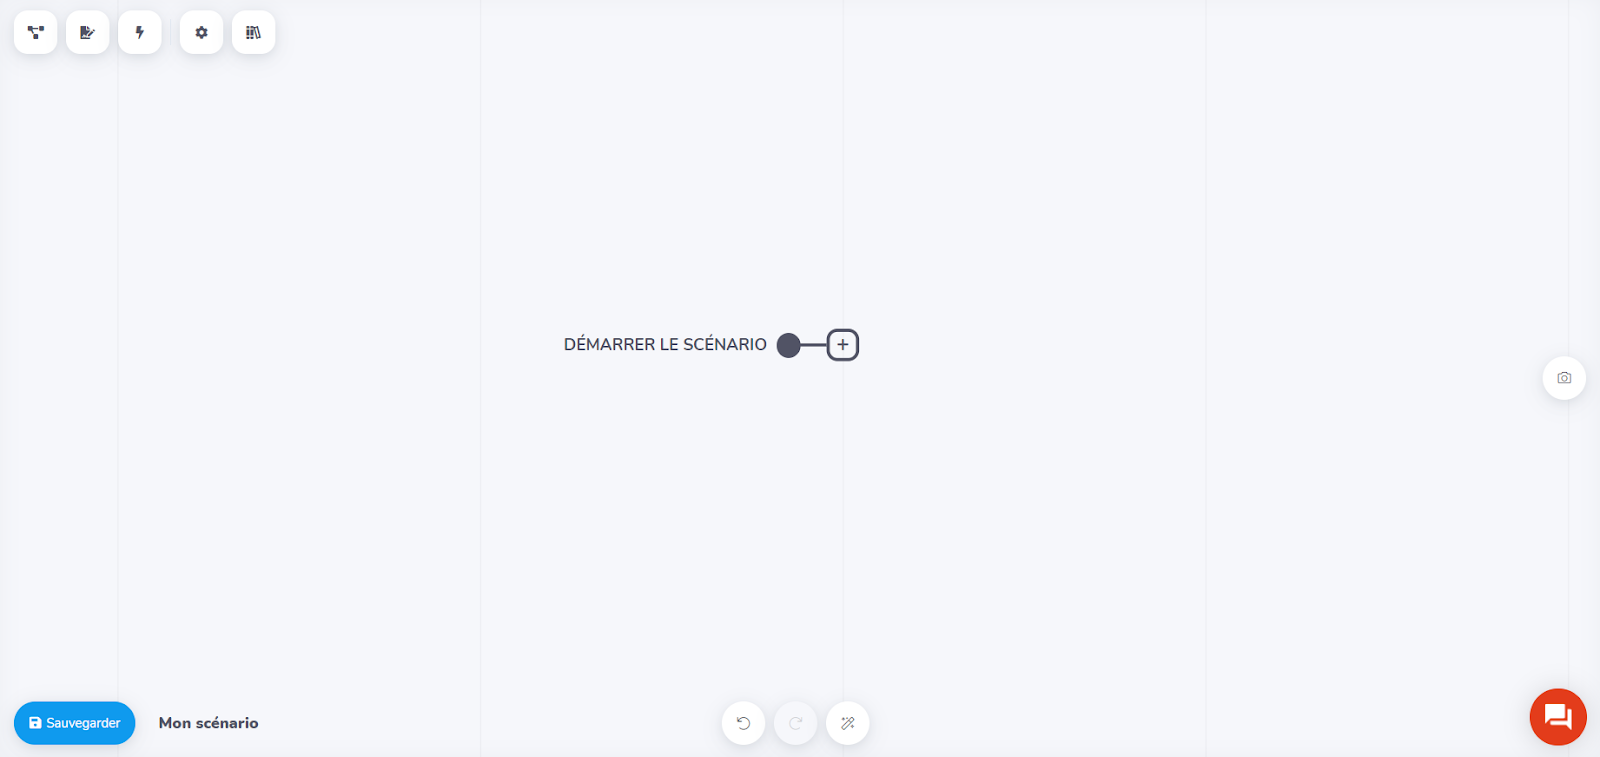
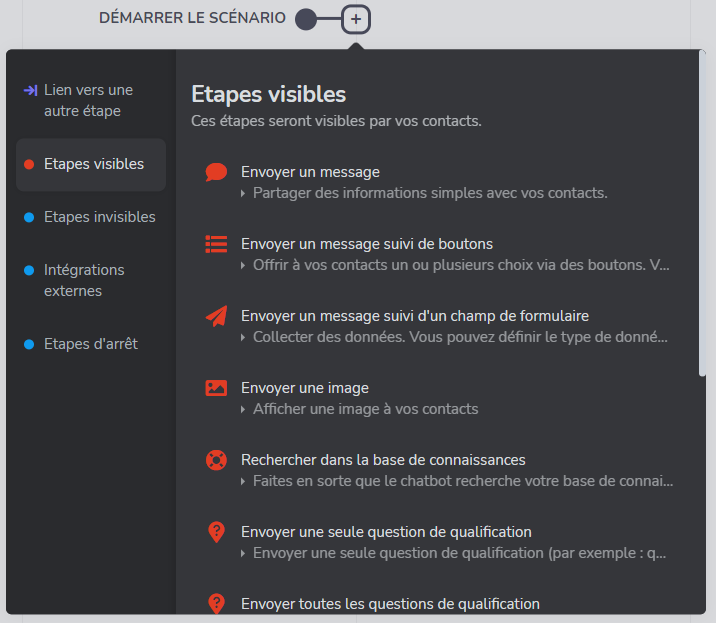
Click the [+] button to open the step selector.
Not sure what to choose first? The button offers a variety of steps that you can choose from depending on your needs. If you would like, for example, to start by asking your contacts what their request is, Send a message followed by buttons is an excellent option to begin with. You can then adapt your bot’s next message according to the response.
Categories: This step, like all other steps available in the Visible step category, will interact directly with your contacts by displaying something in the conversation. The other categories shown in blue are internal actions and are not displayed in the customer’s conversation.
Getting more information about a specific step: If you are not sure how to use a specific step correctly, you can find more information by clicking the (i) button above your step. This button is visible once the step is selected.
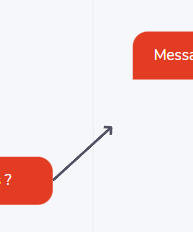
Link: Each step will have one or more possible outputs. For each output, you can either choose to add a new step as explained above, or link it to an existing step.
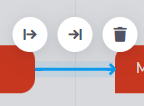
Delete links: Deleting links will allow you to insert another step between two steps that are already linked to each other. First click on it, then you will see the trash can button that will delete the link.
As soon as you start modifying your flow, you will notice that a blue Save button appears in the bottom left corner of the editor. Once your flow is saved, you can use it immediately, whether to test it or to show it to your contacts. For this reason, you must ensure that your flow meets a few conditions before you can save it. You will not be able to save your flow if you have left empty texts, or if a Stop scenario step is missing in a branch, for example.
You have several ways to move the visible area of the editor workspace.
The most versatile way is to maintain and move an empty space of the editor. If you do this with a step, it will be moved.
By selecting a step, it will be centered in the middle of the screen, which means that you can move from step to step within the workspace.
When a step is selected, you can use your arrow keys to select the step directly to the left, right, above, or below the currently selected step.
Once your flow has expanded, you will notice a mini-map in the upper right corner of the screen, showing the current position of the visible area. By clicking anywhere on this map, you can quickly move to another area.
