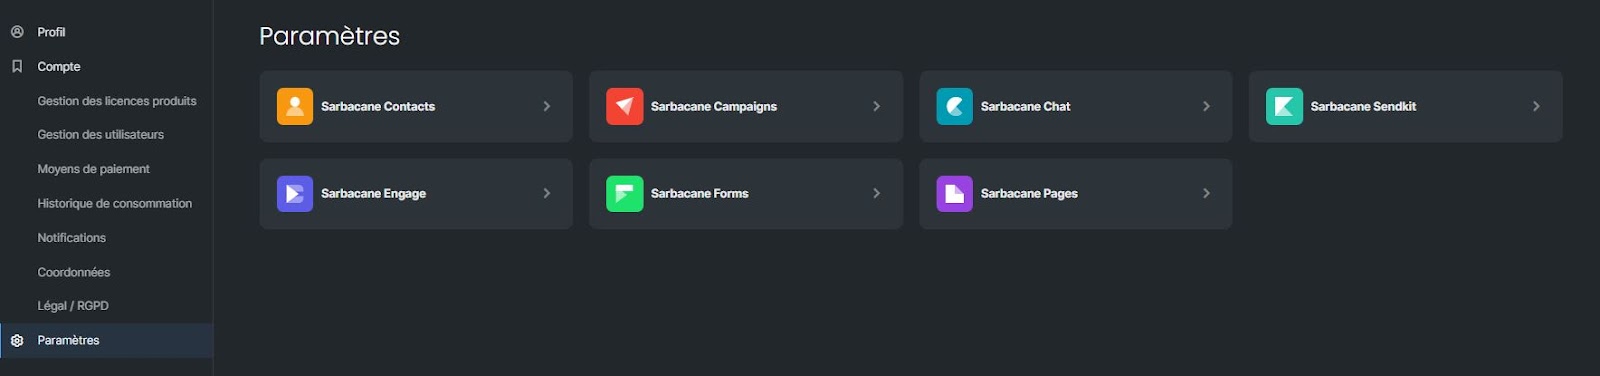
In your account settings, you can define the general settings of your account, manage your licenses, your users, your payment methods, your invoices, Sarbacane notifications, view your usage history, and the legal and regulatory documents related to your account.
To access them, simply click on your avatar at the top right of your screen.
You will then be redirected to the “Profile” section of your settings. To learn how to manage your profile settings, go to this dedicated page.
To access your account settings, click on the “Account” section.
Here is an overview of the available account data and settings:
Home screen of your account settings
Product license management
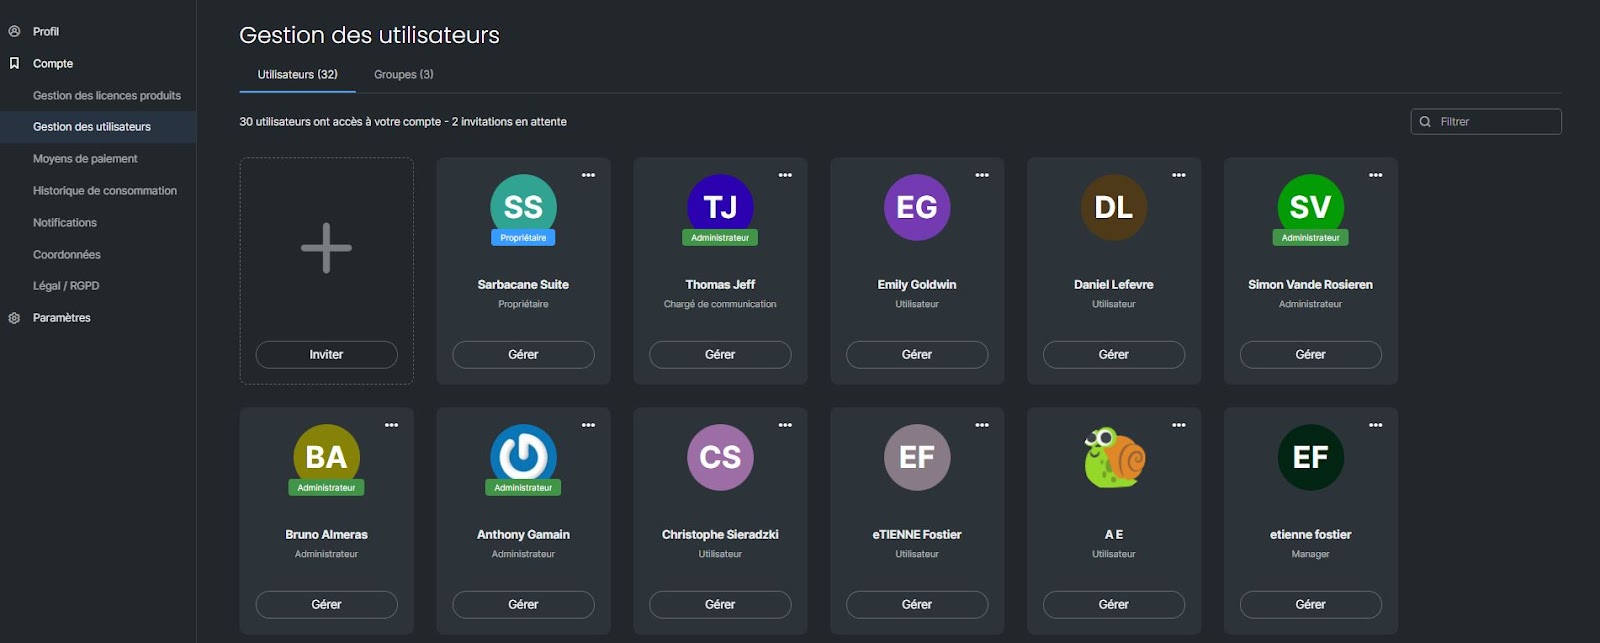
User management
Payment methods
Usage history
Notifications
Contact details
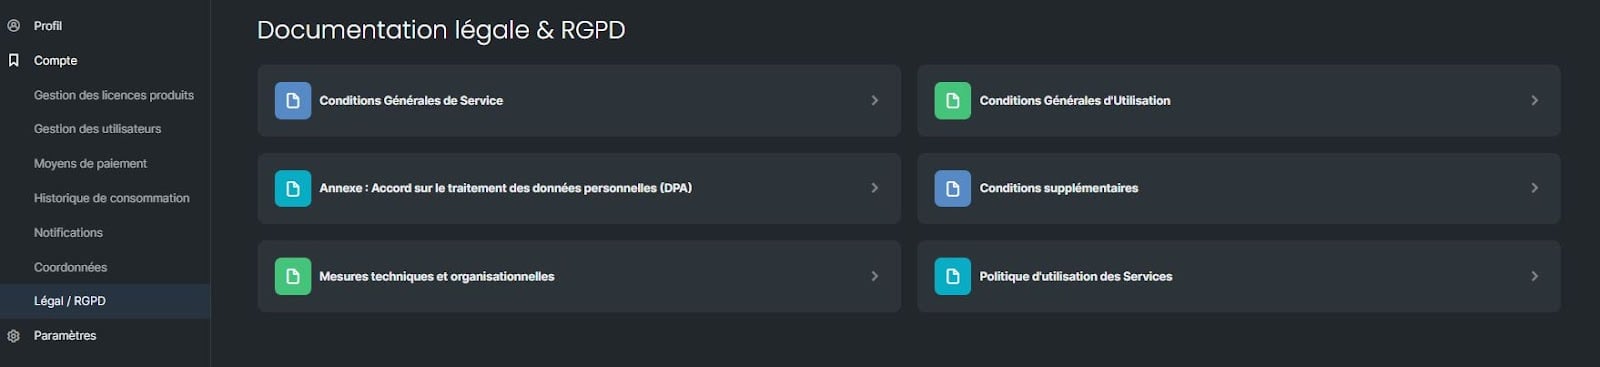
Legal / GDPR
When you click on the “Account” section in your account settings, you are redirected to the home page of your account settings.
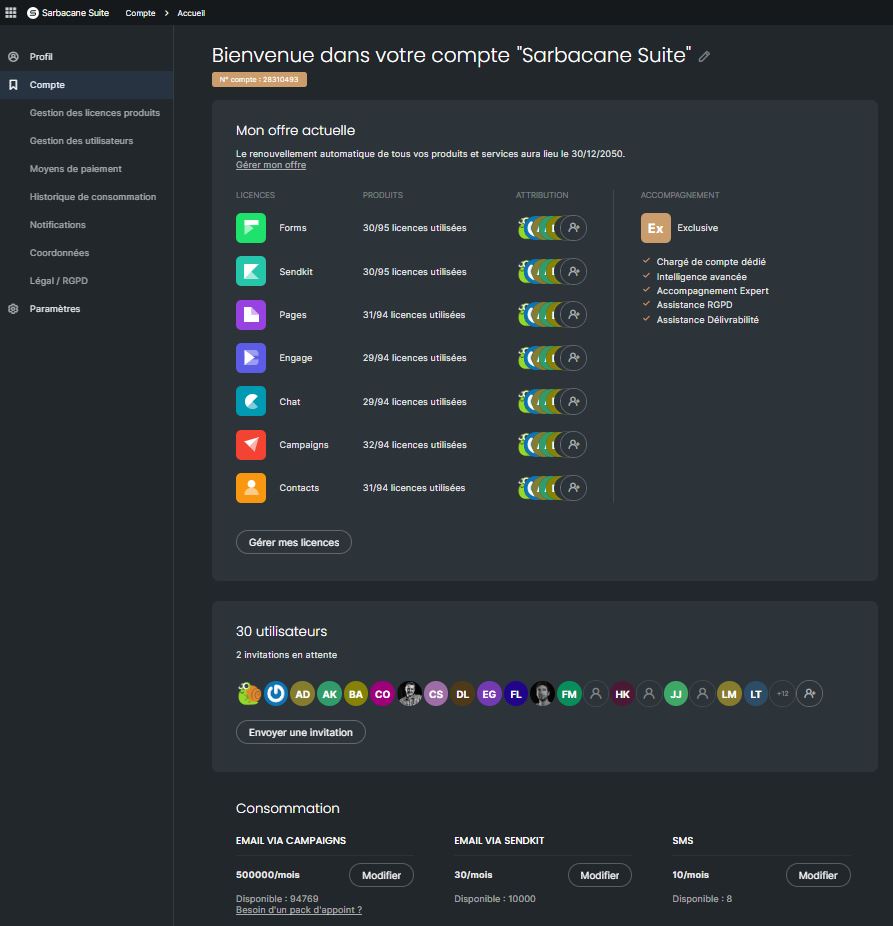
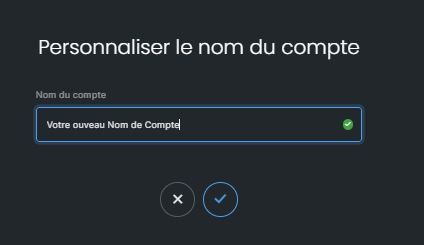
To customize the name of your account, click on the pen icon to the right of the welcome sentence.

You can then enter / edit the name of your account and confirm it to save it.
Below the welcome message, you will find your Sarbacane account number.

This number will be particularly useful if you wish to request assistance from the customer service department on a topic related to the use of our solution.
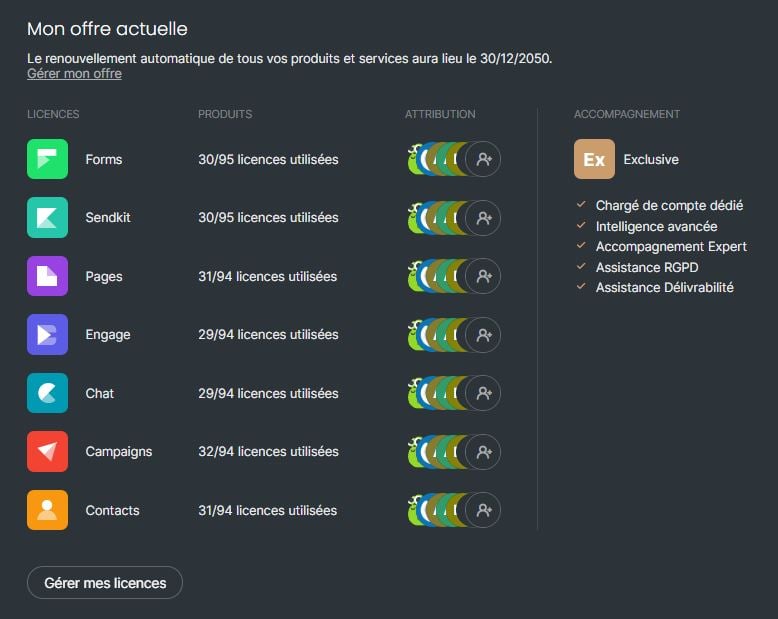
The following section provides you with an overview of your current plan. There you will find:
The renewal date of your subscription
A link to the different options for changing your plan
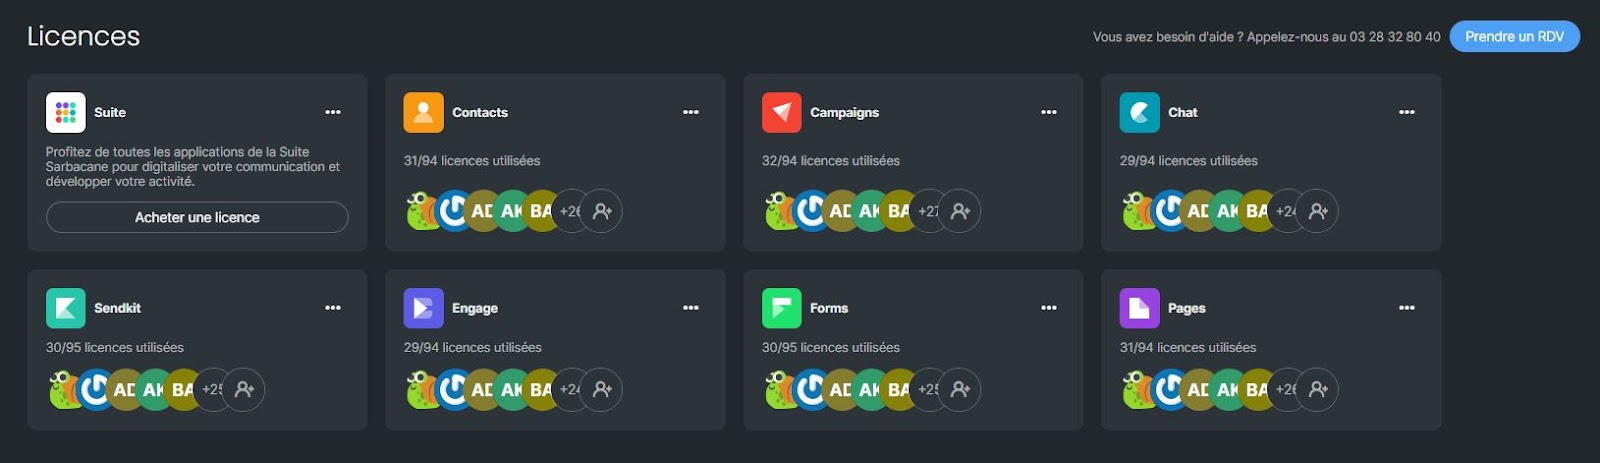
The list of licences with the number of licences assigned out of the number of licences available
An overview of your level of support
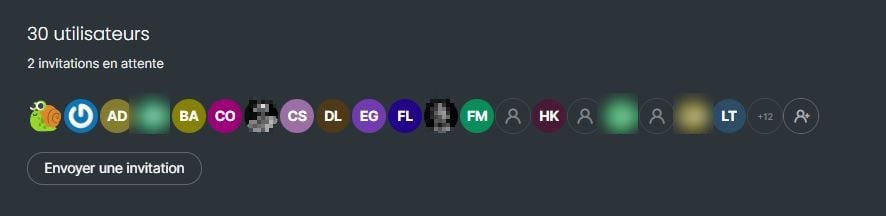
This section provides an overview of the users invited to your account and the pending invitations. The “Send an invitation” button allows you to invite a new user to your account.
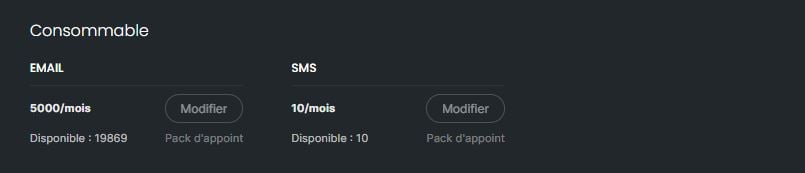
Finally, you will also find an overview of your available sending credits if you have purchased a licence that requires consumables (Campaigns and/or Sendkit).
This section, available only to the owner and administrators, allows you to view the number of available licenses versus those that have already been assigned.
The action menu for each license allows you to:
Purchase a license
View the details of a license
Access the application
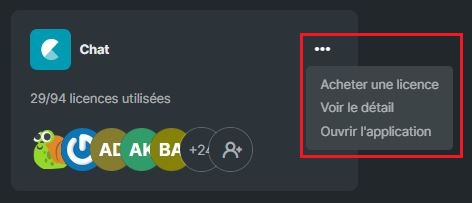
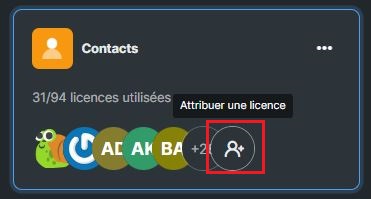
You can also assign a license to a user by clicking the associated symbol:
This section enables you to invite new users to your account, manage their profile, assign or revoke licenses, as well as manage the rights and permissions of each user.
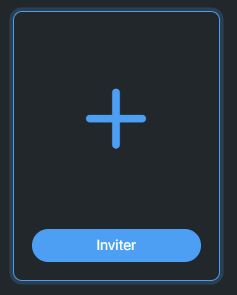
By clicking on “Invite”, you can invite a new user to join your account.
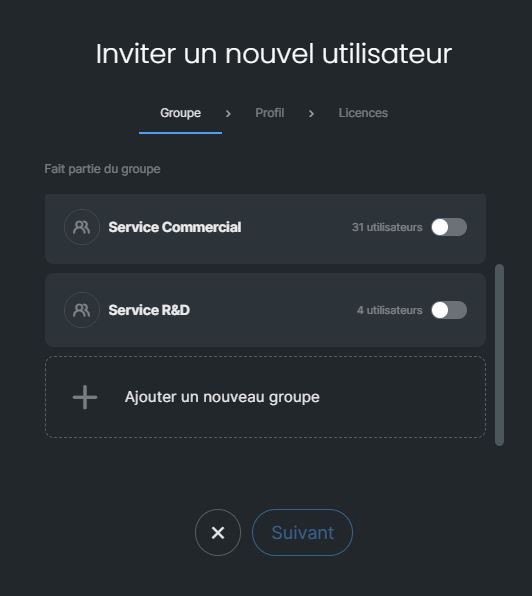
Here are the elements that you can configure for invited users). :
The group to which the group must be associated (as a reminder, a user can only belong to a single group)
The profile
Role: Administrator or User
Last name and first name
Profession / position
Licenses: here you can select or deselect the applications to which the user may have access (which means assigning or unassigning a license for an application)
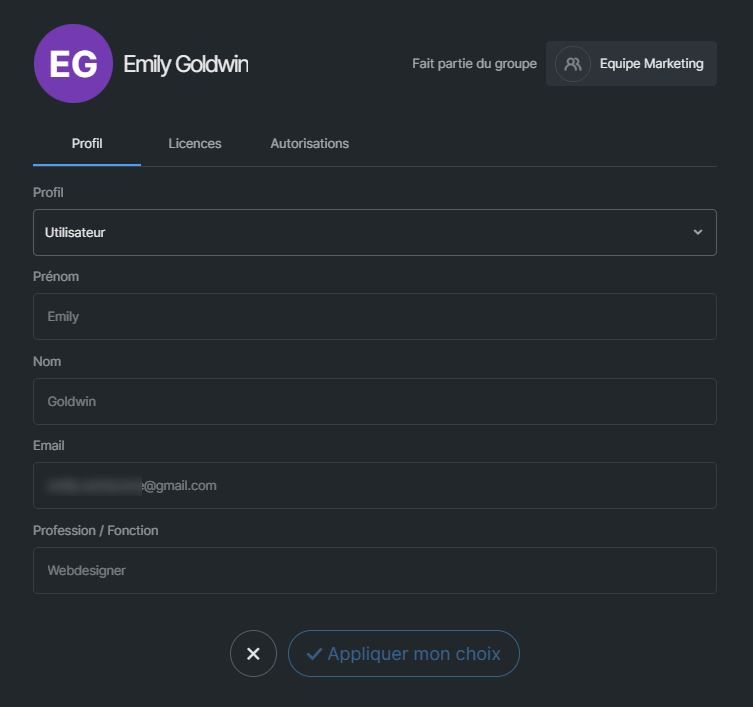
By clicking on the “Manage” button, you will be able to access and modify the following items for each user:
The profile:
Role: Administrator or User
Last name and first name
Profession / position
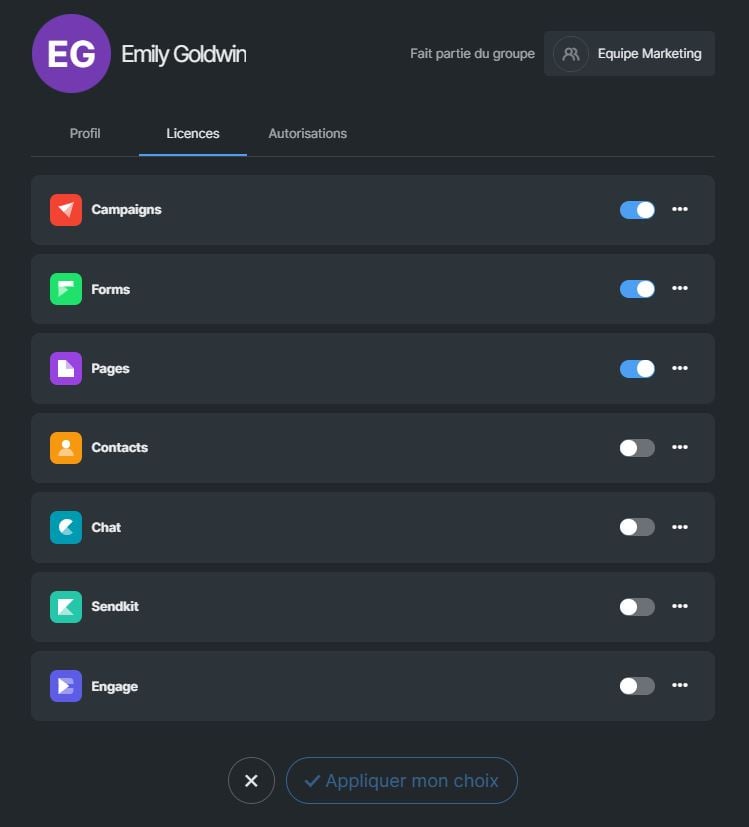
Licenses: here you can check or uncheck the applications to which the user may have access (which means assigning or unassigning a license for an application)
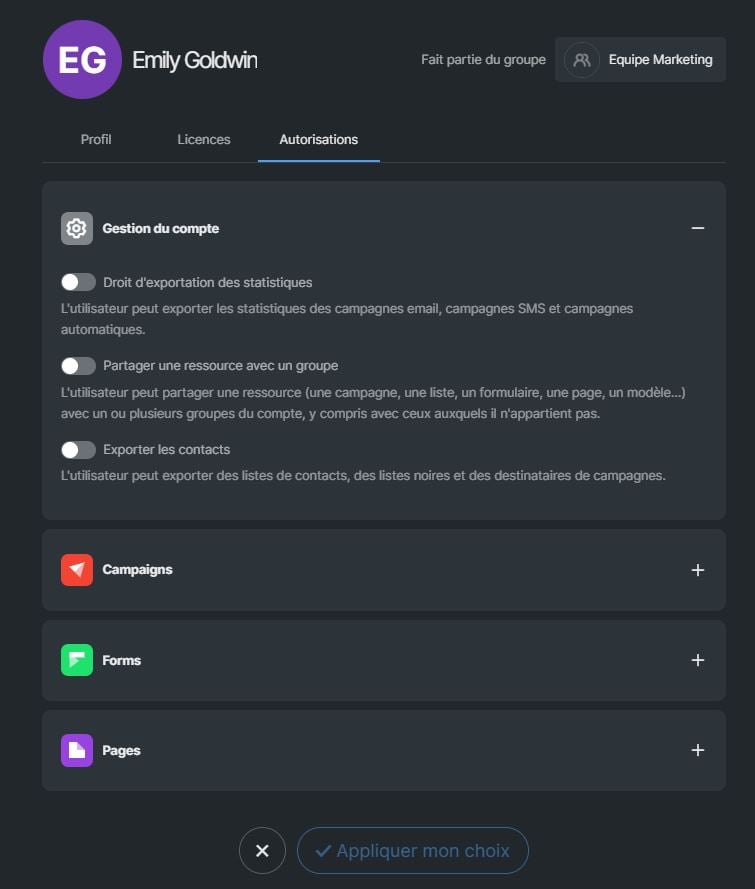
Permissions:
Account management: export statistics, share a resource with a group, export contacts
Campaigns: transfer templates, send automatic email campaigns, send automatic SMS campaigns, send email campaigns, send SMS campaigns, send a test email, send a test SMS
Forms: publication management
Pages: publication management
This section also allows you to create, manage, and delete user groups.
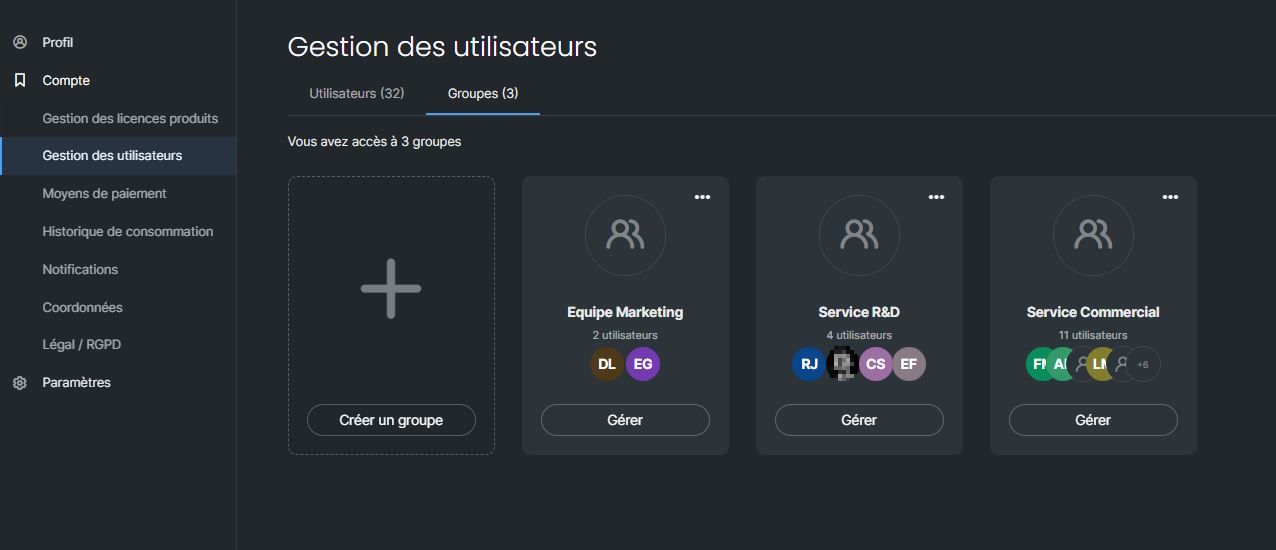
Here are the settings available for each group:
Create, manage and delete your users for each group
Add a user to a group
Remove a user from a group
Change a user’s group
Access each user’s access rights management
Limit a group’s email and/or SMS consumption
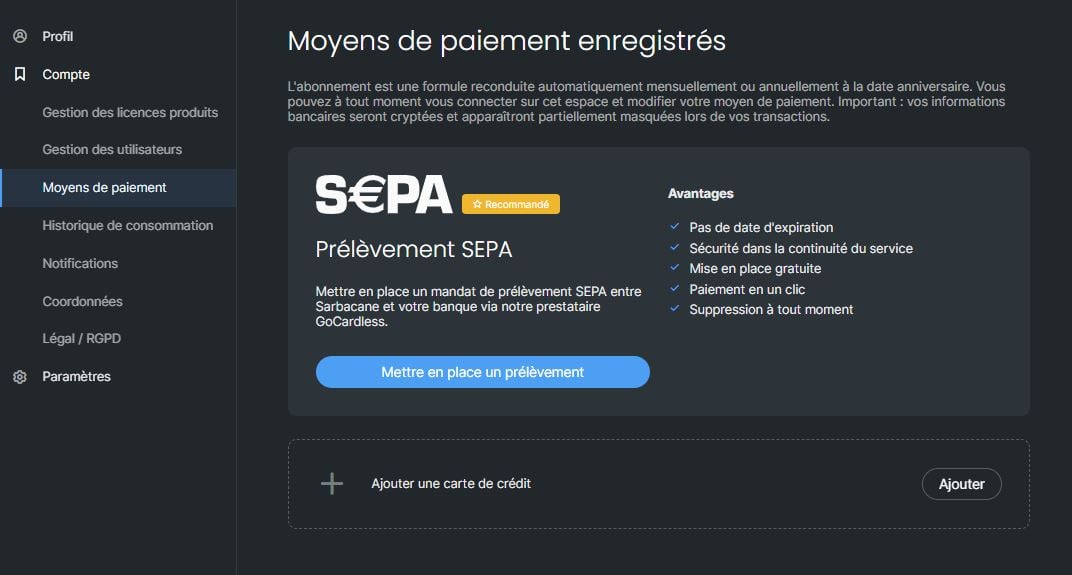
This section, available only to the owner and administrators, allows you to register and configure your payment methods.
This section allows you to view your email and/or SMS credit consumption history in table form, with:
The date of each campaign that resulted in the consumption of credits
The number of credits used
The type of campaigns (email or SMS)
The name of the user who sent the campaign
The name of the campaign
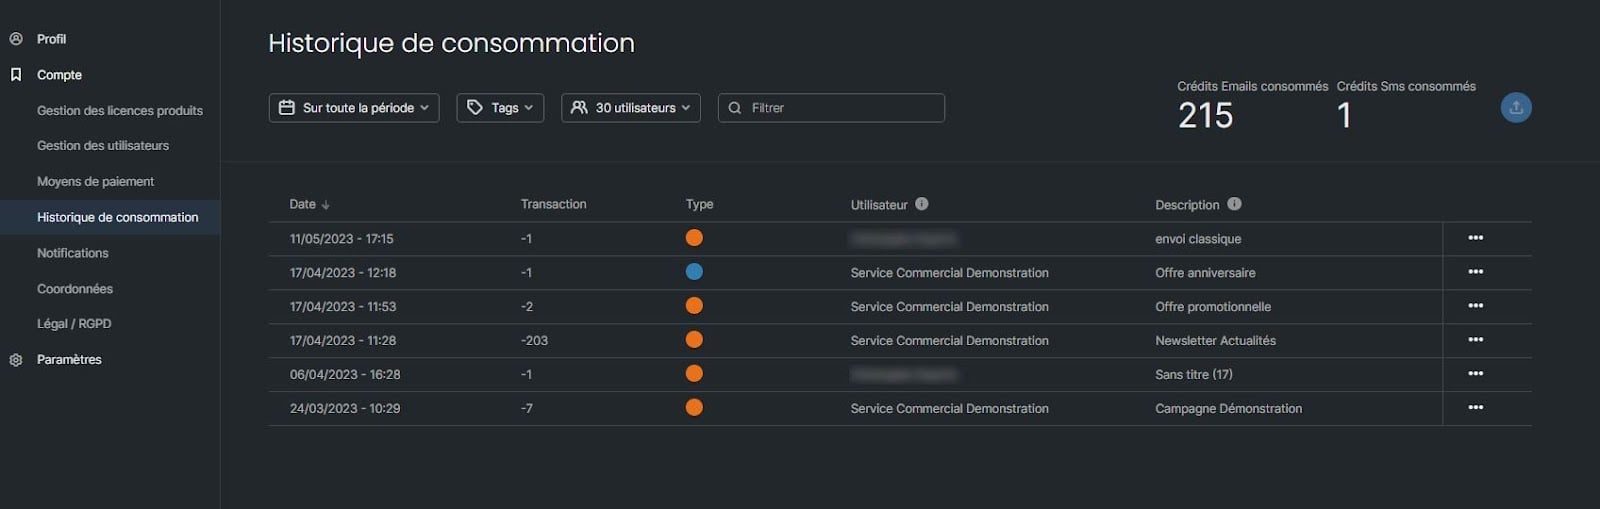
You can filter the usage history:
By period
By tag
By user
By campaign name by entering a keyword in the search bar
You also have the option to export your usage history.
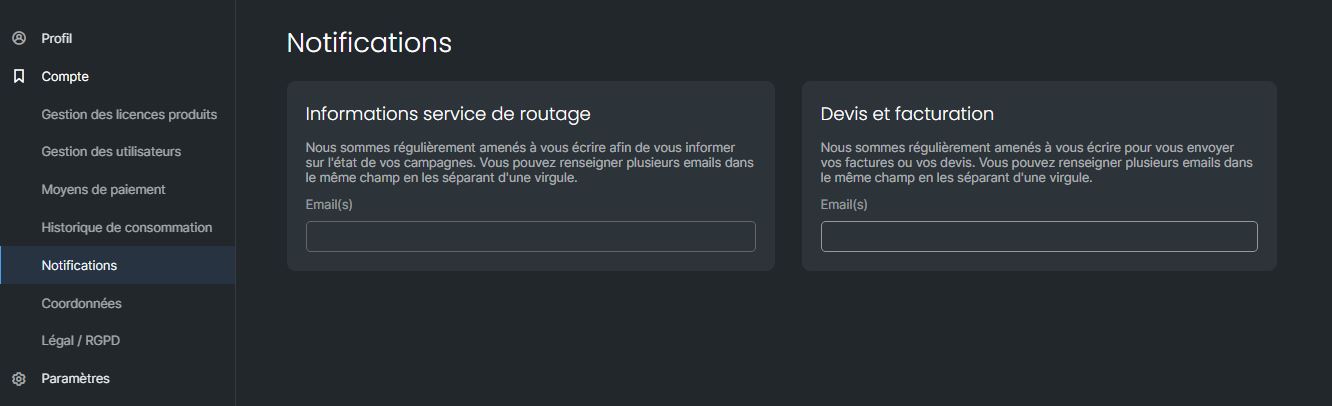
This section allows you to configure:
An email address intended to receive information related to the routing of campaigns for your account
An email address intended to receive information related to quotes and invoices for your account
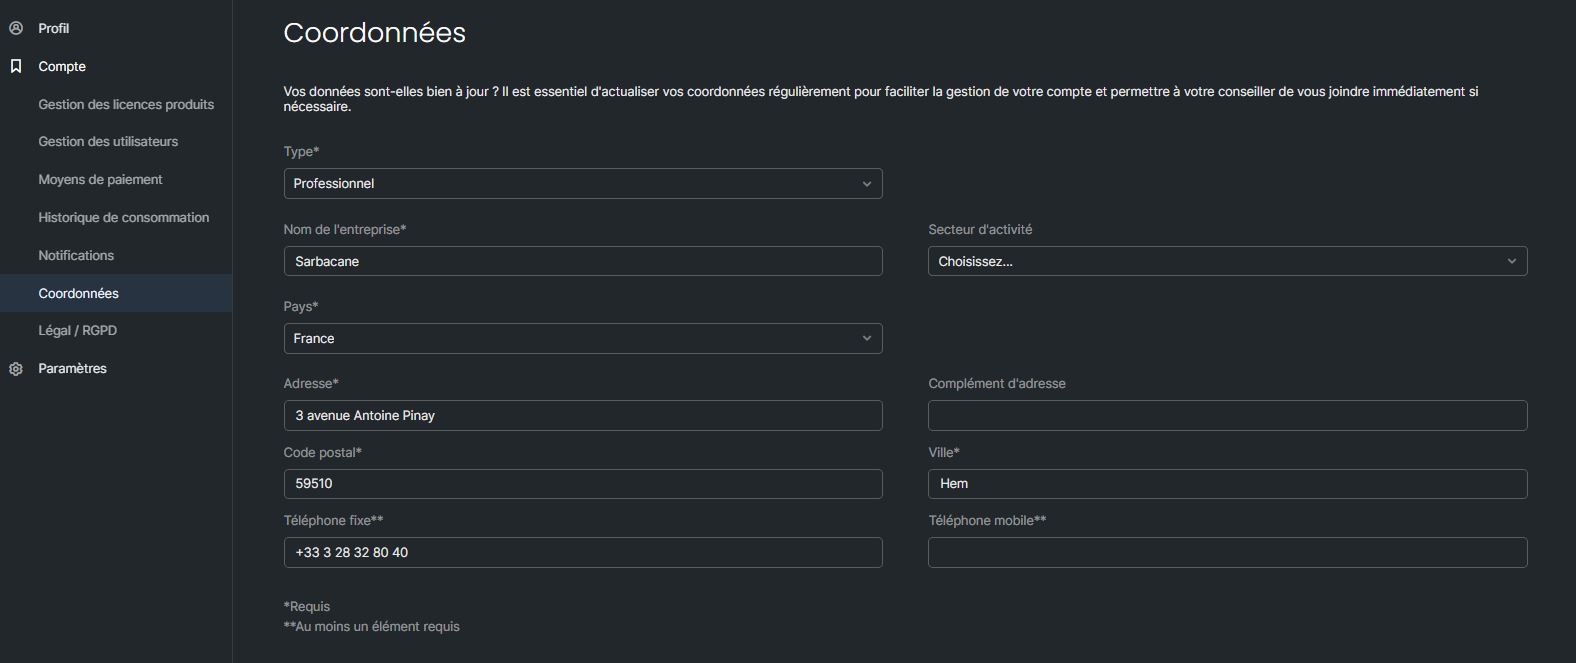
This section allows you to update your contact details to facilitate the management of your account and enable your advisor to reach you easily if necessary.
Here you can consult the legal and regulatory documents related to your use of Sarbacane, such as:
General Terms of Service
General Terms of Use
Additional Terms
Personal Data Processing Agreement
Technical and Organizational Measures
Service Usage Policy
This final section allows you to access the settings specific to each application in the Sarbacane Suite.